

Trim Carpentry
TRIM CARPENTRY IN Vancouver, WA
Wall studs in typical residential framing sit 16 inches on center, which is what every baseboard, casing, and wainscot panel has to be fastened into, and MDF trim swells permanently once it gets wet. TTP Handymen LLC handles trim carpentry across Vancouver, WA, installing baseboards, casing, crown, wainscoting, and built in details, with coped inside corners and scribed edges rather than a caulk line doing the work. Estimates are free, and every job is insured to $1 million.
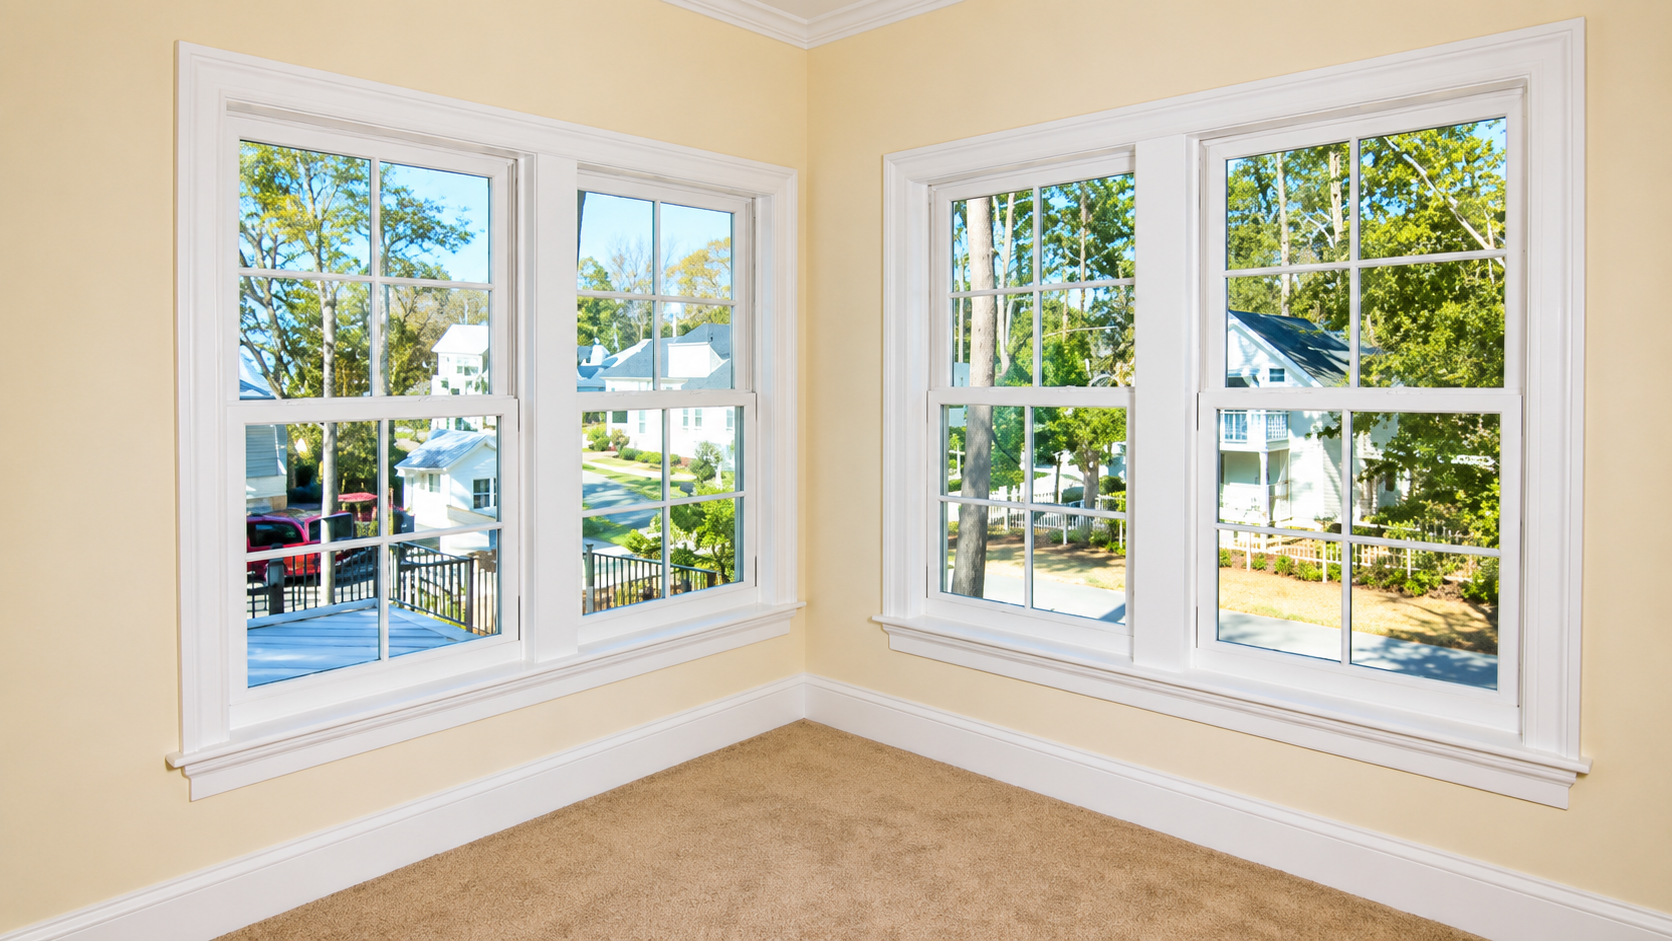
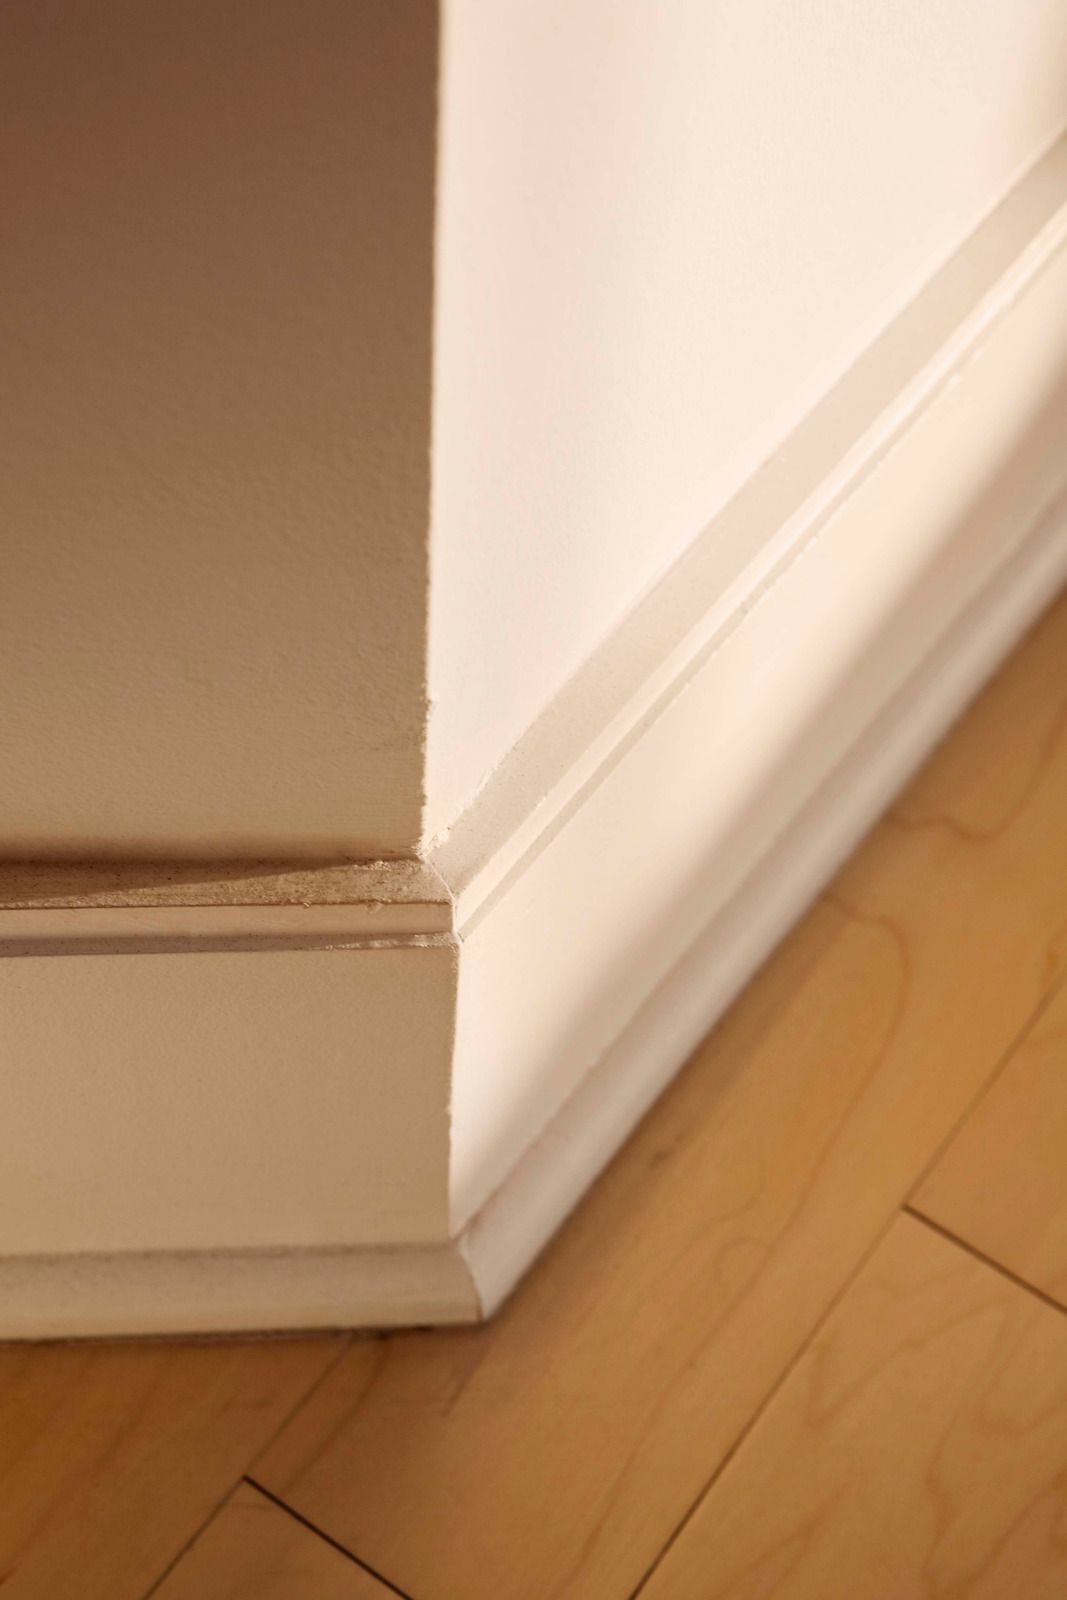
NO ROOM IS SQUARE, AND TRIM IS WHERE THAT SHOWS.
Walls bow, ceilings dip, floors run out, and corners are almost never a true right angle. Trim is the only element in a room where all of that becomes visible, because a straight piece of milled stock meeting an unstraight surface leaves a gap you cannot argue with. Milled stock is perfectly straight, which is the problem.
Scribing, coping, and back cutting exist entirely to solve that problem, and they are the whole difference between real joinery and a bead of caulk. Caulk is finishing, not fitting.
✓ Inside corners coped, not mitered and filled
✓ Edges scribed to walls, floors, and ceilings
✓ Fastened into framing rather than drywall alone
✓ Material matched to the room's moisture exposure
TRIM CARPENTRY
A COPED CORNER STAYS CLOSED. A MITERED ONE OPENS.
Two pieces mitered into an inside corner will separate as the wood moves and the framing shrinks, and no amount of glue or filler prevents it permanently. A coped joint, where one piece is cut to the profile of the other, closes tighter under the same movement rather than opening. It takes longer to cut and it is the single clearest indicator of whether trim was installed by somebody who cares.
MDF IS THE WRONG CHOICE IN HALF THE ROOMS HERE.
MDF trim is stable, cheap, and paints beautifully, which is why it is everywhere. It also swells permanently the moment it takes on water, and it never recovers. In a bathroom, a laundry room, an unheated entry, or anywhere near an exterior door in a climate this damp, primed finger jointed pine or a PVC product is the better answer. We choose per room rather than per invoice.
NOT ONE ROOM WE HAVE TRIMMED WAS ACTUALLY SQUARE.
Not one. Across 4 years of finish carpentry around Clark County, from 1940s bungalows near downtown to houses built last decade, every single room has needed something scribed, shimmed, or back cut. That is normal, and it is why quoting trim by linear foot alone tends to go wrong. What takes the time is making milled stock meet surfaces that were never straight to begin with. We price accordingly.
WHAT PROPER TRIM CARPENTRY DELIVERS
JOINTS THAT STAY CLOSED
Coped corners and back cut miters hold together through seasonal movement rather than opening into a line that has to be recaulked every couple of years.
A ROOM THAT LOOKS FINISHED
Trim is the last thing installed and the first thing the eye reads. Well fitted millwork makes an ordinary room look considered rather than merely painted.
NO VISIBLE FASTENERS
Nails set below the surface, filled, and sanded disappear entirely under paint, which is a level of finish that separates carpentry from assembly. It is also what makes repainting straightforward later.
GAPS CLOSED PROPERLY
Scribed edges follow the wall and the floor instead of leaving a wedge shaped gap for caulk to bridge, which always shows once the paint goes on.
MATERIAL THAT SURVIVES
Choosing the right stock for each room means bathroom and entry trim does not swell, delaminate, or need replacing after a few damp winters. That choice costs almost nothing at the outset.
ADDED CHARACTER
Wainscoting, picture rail, built in shelving, and substantial casing add architectural interest that finishes and furniture on their own simply cannot produce. It is the cheapest architectural change most rooms can get.
WHAT WE FINISH
OUR TRIM CARPENTRY WORK
Trim work runs from replacing a single damaged piece to detailing an entire floor. These are the installations we are asked for most often around Vancouver and the surrounding area. Most rooms need several of them together.
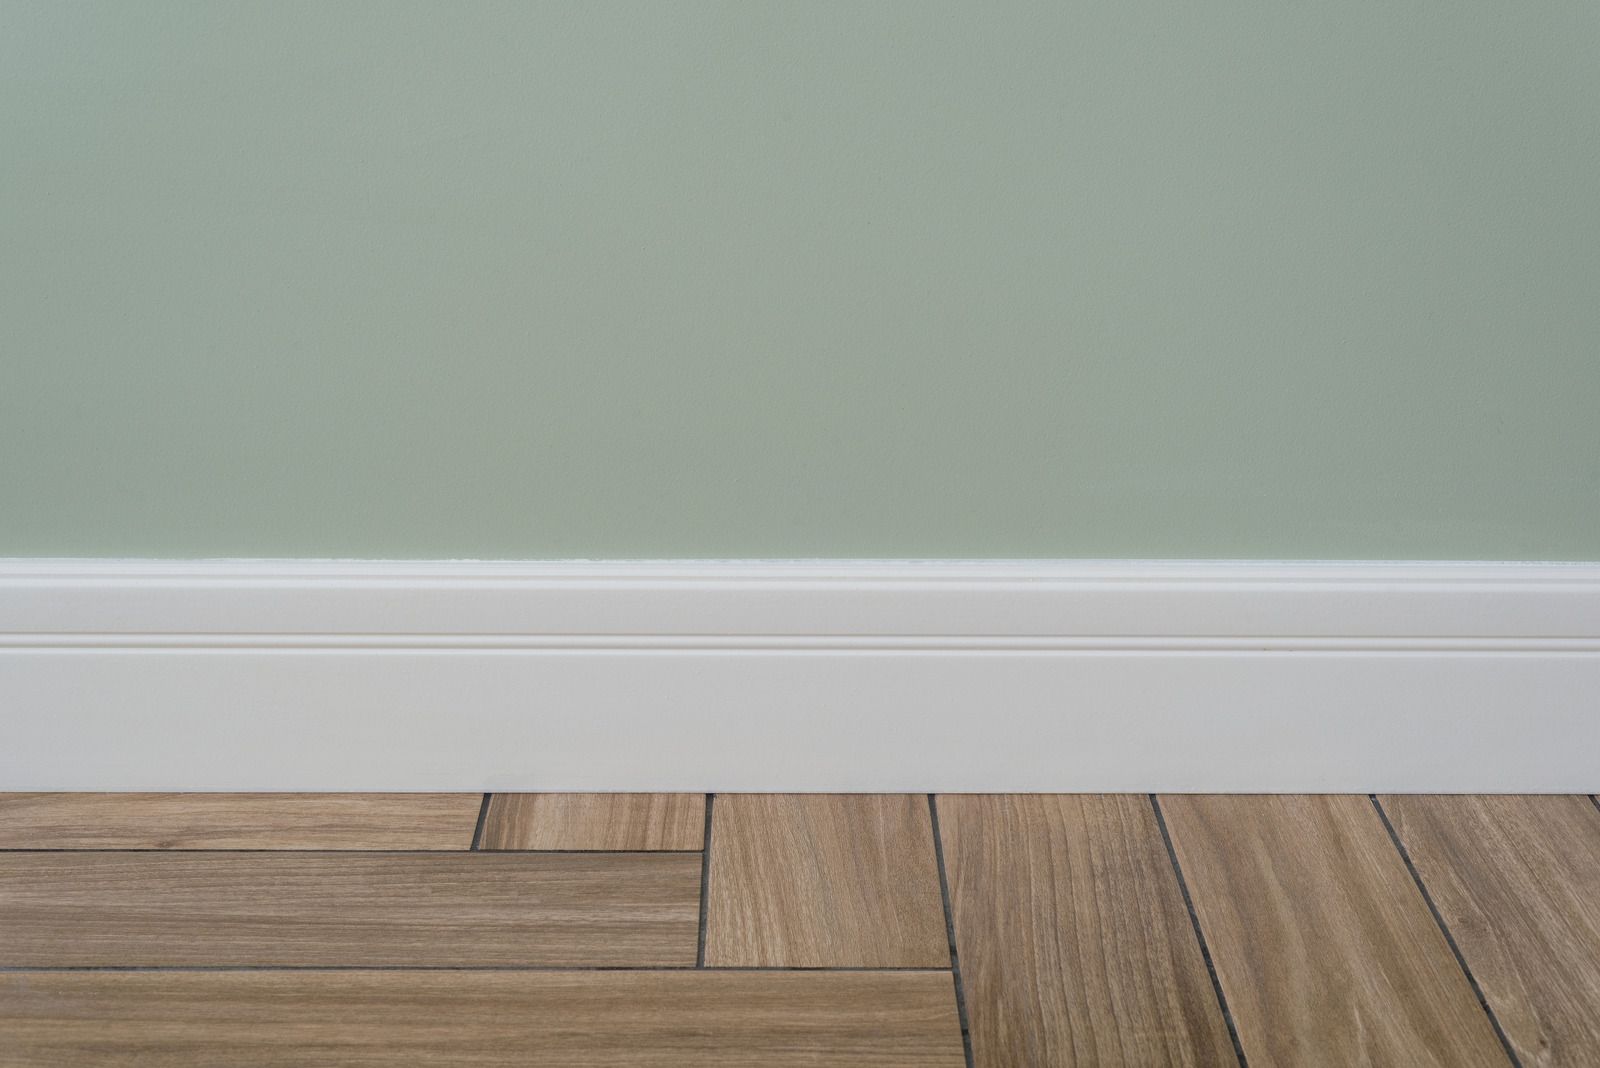
BASE
Baseboard Installation
Baseboards get scribed to the floor, coped at inside corners, and fastened into framing and the bottom plate. Height gets chosen to suit the ceiling and the room proportions. Shoe molding goes on only where the floor genuinely requires it.
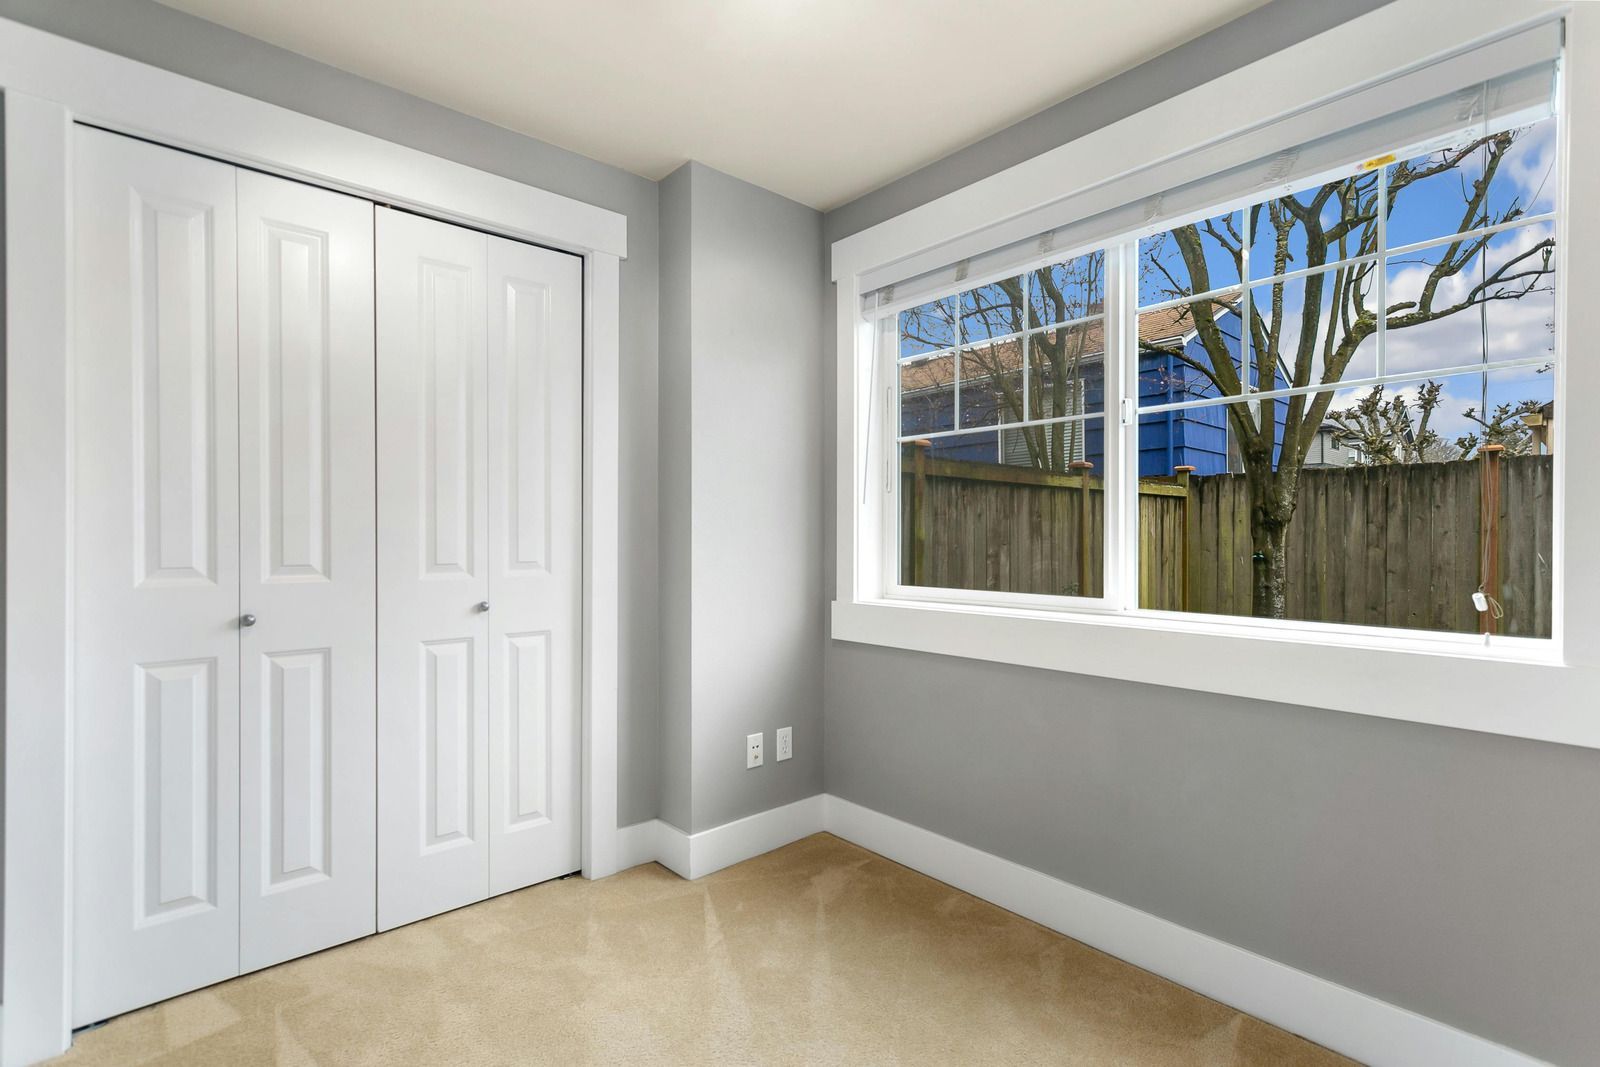
OPENINGS
Door and Window Casing
Casing gets fitted with consistent reveals and tight joints at the head. Openings that are out of square get handled by adjusting the fit rather than by filling afterward. Reveals stay consistent all the way around every opening.
CEILING
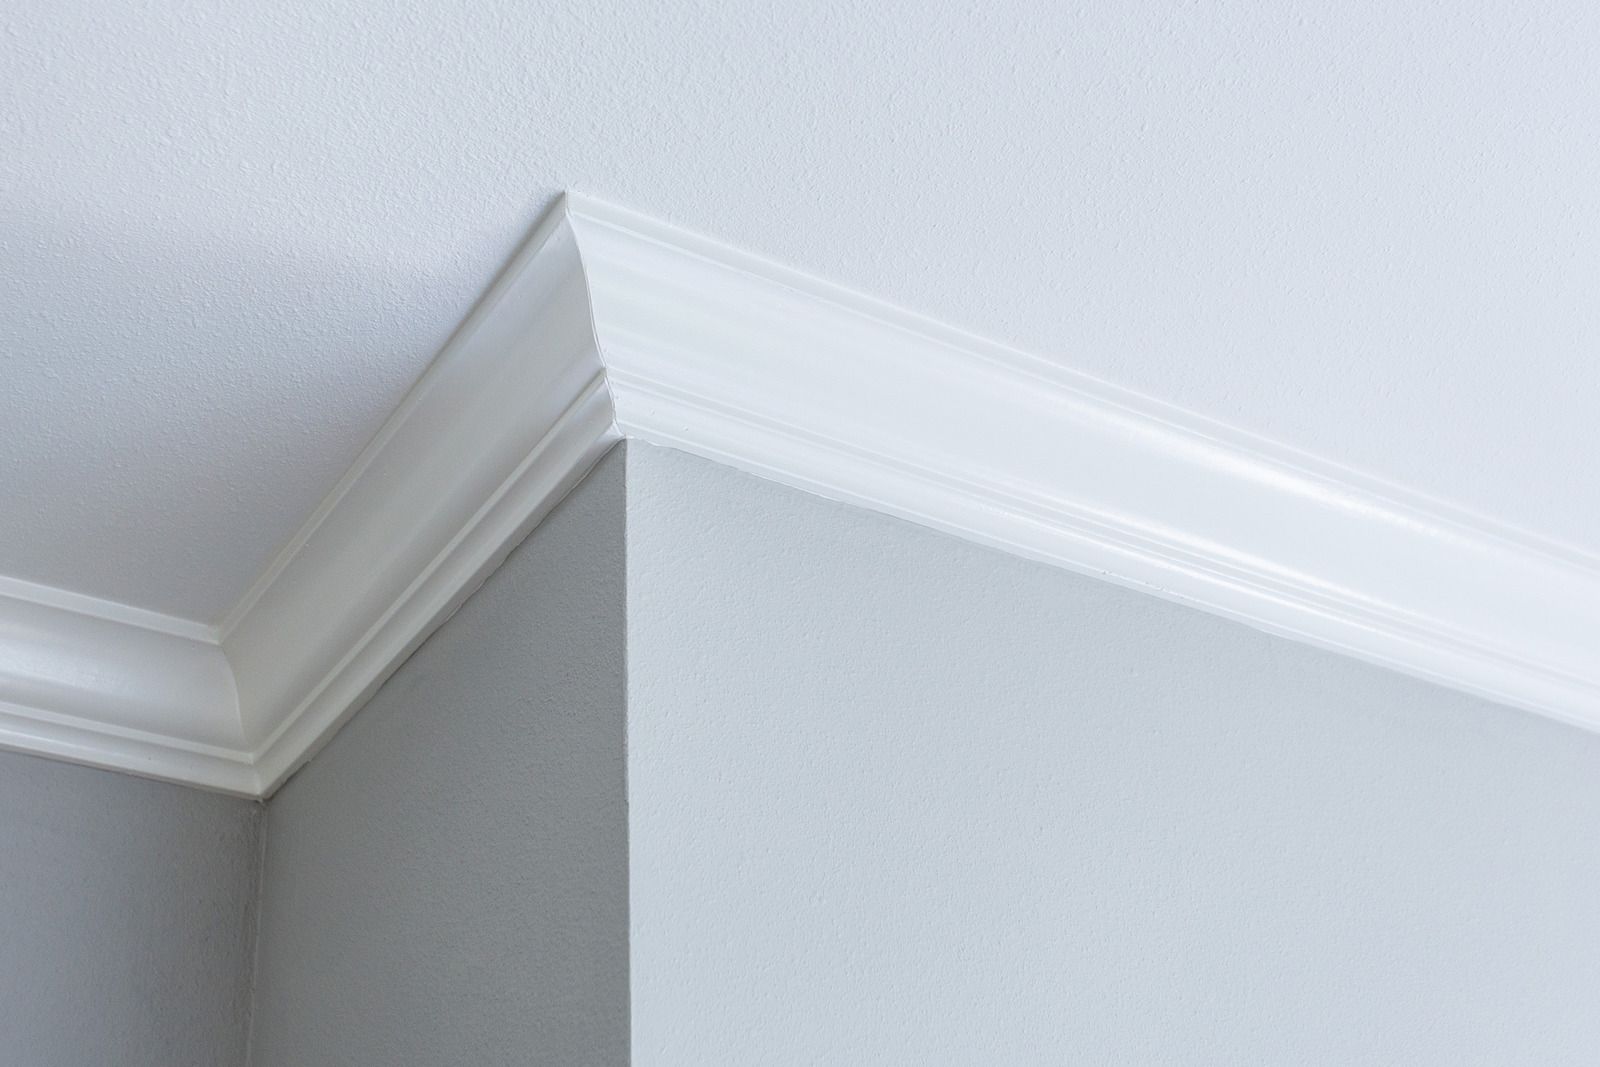
Crown Molding
Crown gets cut to the actual wall and ceiling angles rather than a nominal 45, and coped at inside corners so joints stay closed as the framing moves seasonally. Ceilings that dip get handled by adjusting the fit.

PANELING
Wainscoting and Wall Panels
Board and batten, shaker panels, beadboard, and picture frame molding get laid out so panel widths are consistent and the layout works with doors, outlets, and corners. Panel layout gets marked on the wall for approval before anything is cut.
BUILT IN
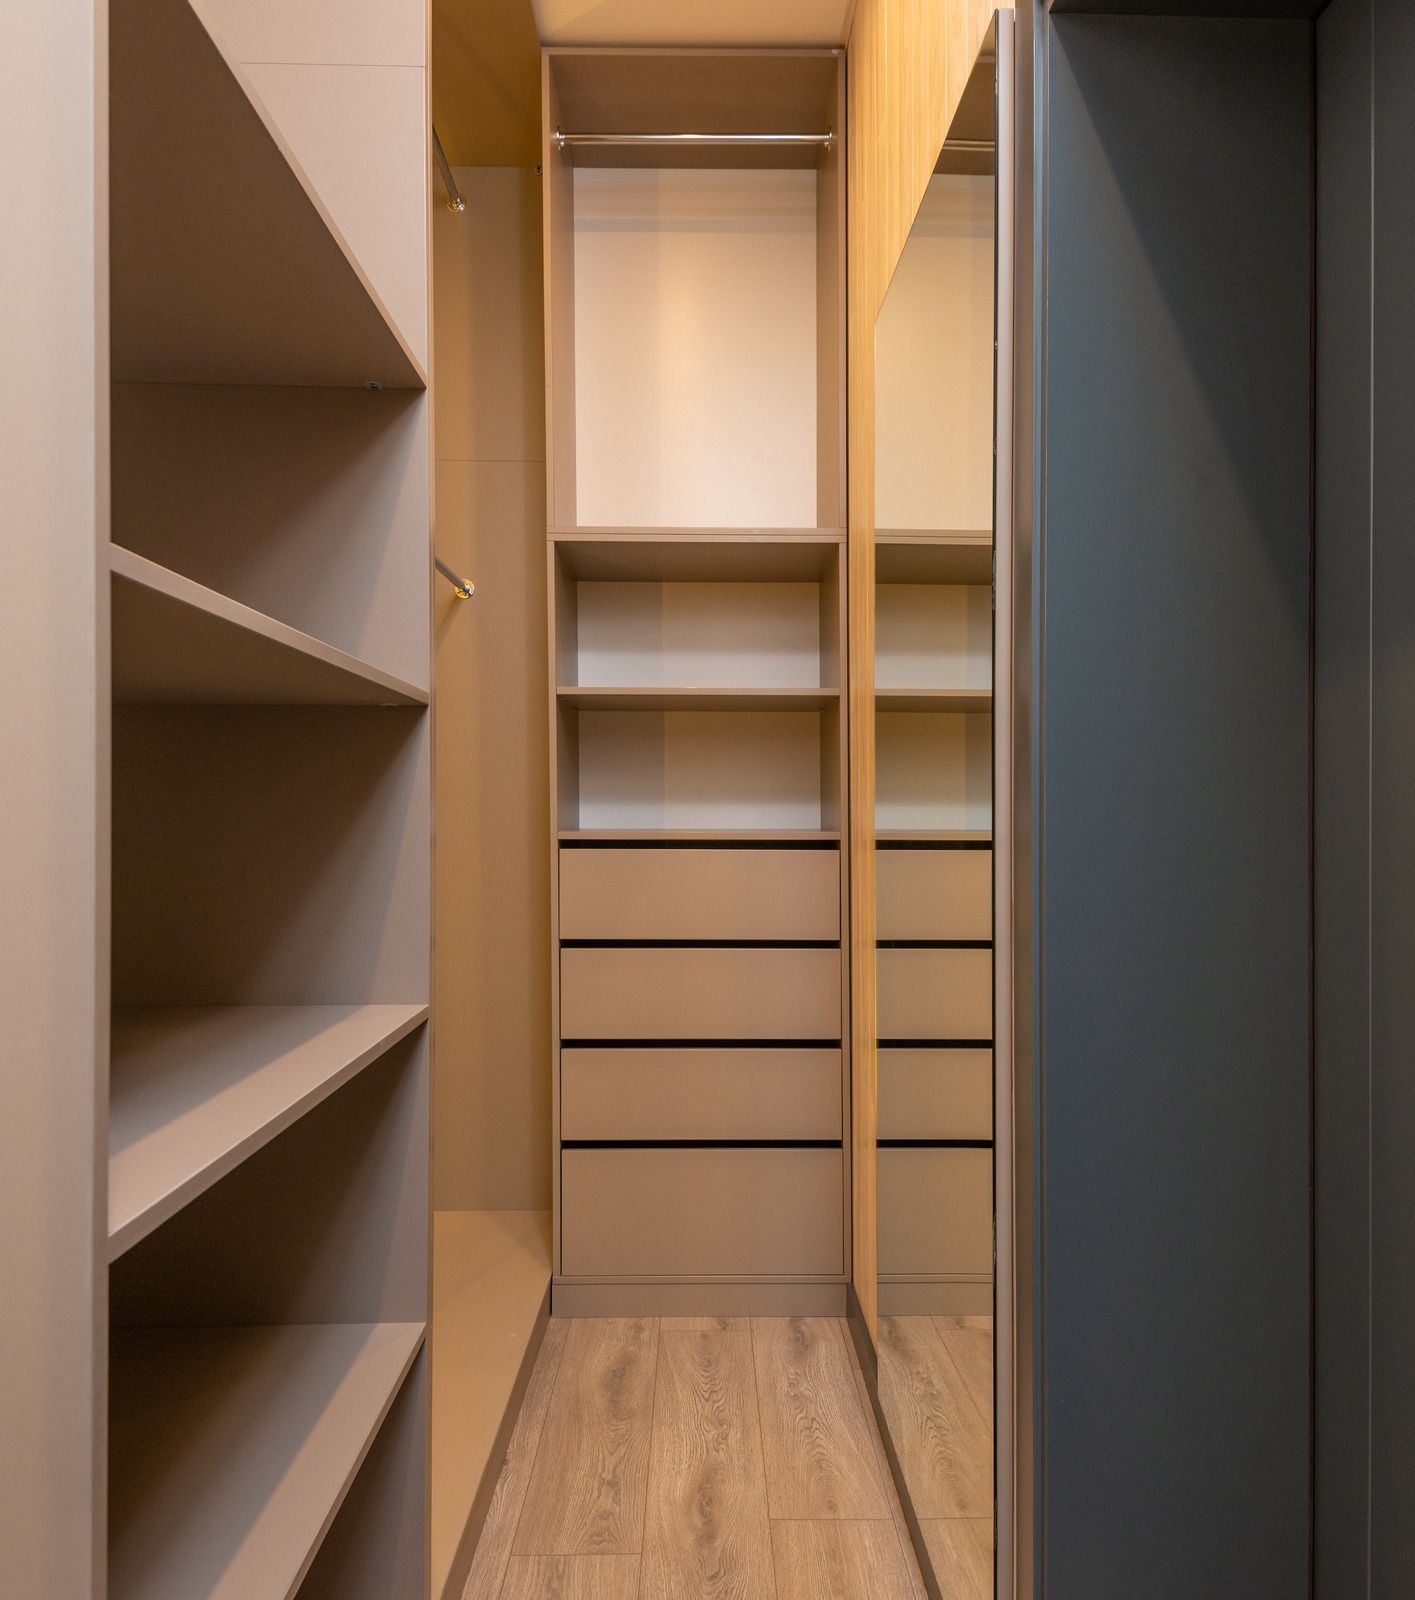
Shelving and Built Ins
Bookcases, window seats, mudroom benches, and closet systems get built into the space and scribed to the walls, so they read as part of the house rather than furniture. Scribing is what makes a built in look built in.
REPAIR
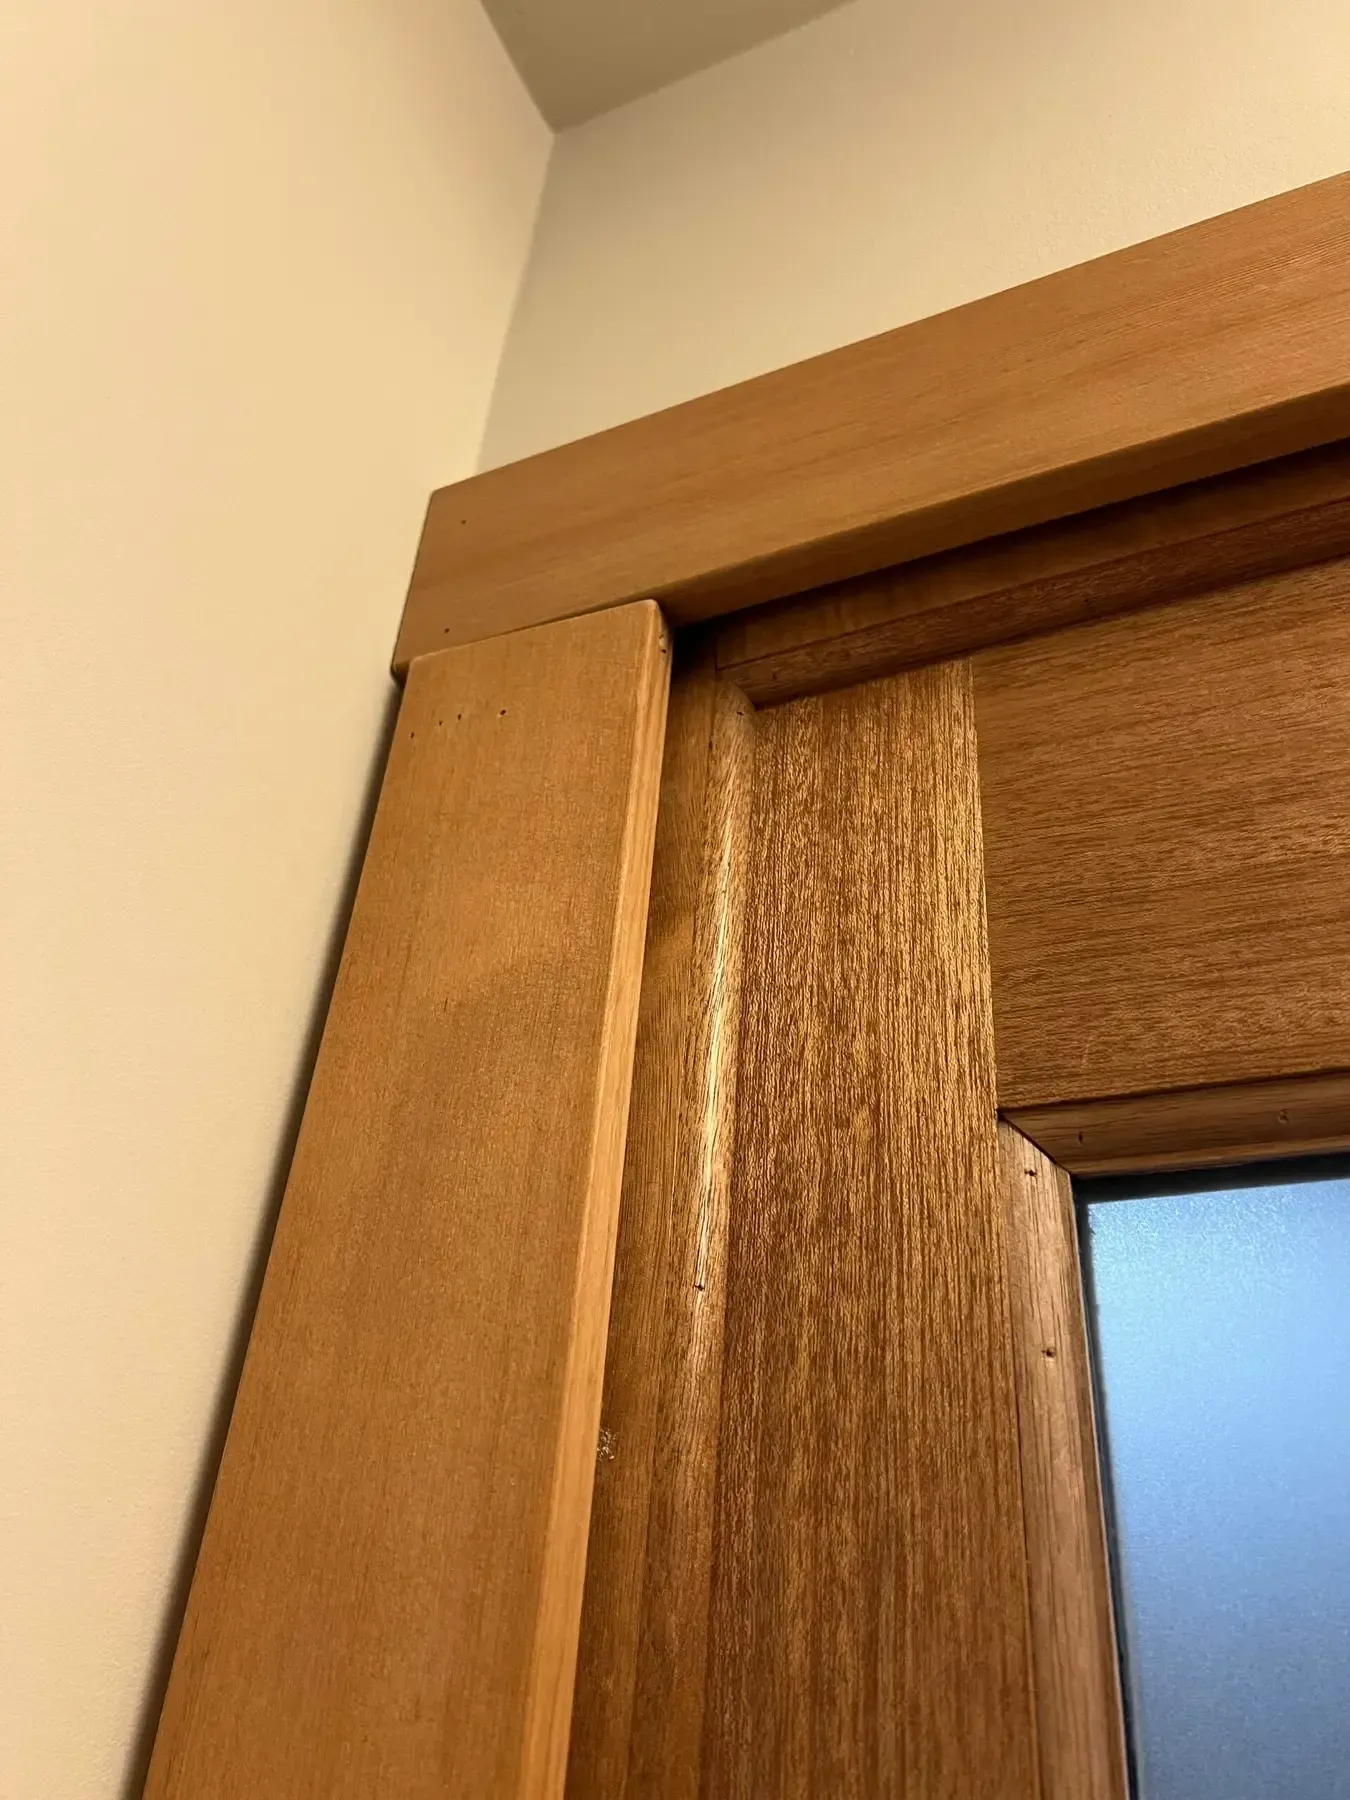
Trim Repair and Matching
Damaged or missing trim in older homes gets matched from stock profiles or built up from several pieces, so a repair sits flush with what is already there. Older profiles frequently need building up from two or three stock pieces.
THE WORD ON OUR WORK
WHAT OUR CLIENTS SAY.
The comment that comes up most is about corners, usually from somebody who has lived with a mitered joint slowly opening for years. The second is about how much a room changes with taller baseboard and properly proportioned casing. Proportion changes a room more than color does.
FAQ
FREQUENTLY ASKED QUESTIONS.
Trim questions cover materials, sequence, and how uneven walls get handled. Here is what homeowners around Vancouver most often want to know before booking finish carpentry.
Should baseboards go in before or after flooring?
After, in almost every case. Flooring needs an expansion gap at the perimeter, and the baseboard covers it. Installing base first means shoe molding pinched against the floor instead. That order also protects the trim during installation.
Is MDF or solid wood better for trim?
MDF is stable and paints well but swells permanently if it gets wet. Primed finger jointed pine or PVC is the better choice in bathrooms, laundry rooms, and anywhere near exterior doors. TTP Handymen LLC fields this across Vancouver, WA.
How tall should baseboards be?
Generally proportional to ceiling height. Standard 8 foot ceilings suit somewhere around 4 to 6 inches, while taller ceilings carry more substantial base without the room feeling crowded. Existing trim elsewhere in the house usually sets the reference.
Does crown molding work with 8 foot ceilings?
Yes, with a smaller profile. Oversized crown in a low room closes it in visually, but a modest profile adds definition at the ceiling line without shrinking the space. Profile choice matters far more than ceiling height here.
What is the difference between coping and mitering?
A miter cuts both pieces at an angle to meet. A cope cuts one piece to the profile of the other. Coped inside corners stay closed as wood moves, mitered ones open.
How do you handle walls that are not straight?
Scribing and back cutting. The trim gets marked to follow the actual surface and cut to that line, rather than relying on caulk to bridge a gap that keeps growing. TTP Handymen LLC trims rooms across Vancouver, WA.
Should trim be painted before or after installation?
Priming and a first coat before installation saves considerable time and produces a better finish. Final coat goes on after, once nail holes are filled and joints are sanded. Prefinishing also keeps overspray off finished walls.
How long does trimming out a room take?
A straightforward room with baseboard and casing often takes a day. Crown, wainscoting, or built ins extend that considerably, and older homes needing scribing take longer than new construction. Scribing is where most of the extra hours go.
HOW WE WORK
FROM BARE WALL TO FILLED NAIL HOLE, HERE IS HOW.
STEP 01
Check the room
Walls get checked for bow, floors for level, ceilings for dip, and corners for square. Those measurements determine how much scribing the job will genuinely require. Quoting trim by linear foot alone tends to go wrong for exactly that reason.
STEP 02
Choose the material
Profile, height, and stock get selected for the room's proportions and its moisture exposure. MDF stays out of bathrooms, laundry rooms, and anywhere close to an exterior door. Existing profiles elsewhere in the house get matched where that matters.
STEP 03
Plan the layout
Panel spacing, joint locations, and where any necessary scarf joints will fall get worked out first, so seams land where they are least visible in normal light. Panel widths get kept consistent across the whole wall.
STEP 04
Cut and fit
Inside corners get coped, outside corners get back cut, and edges get scribed to the actual surfaces. Every piece gets dry fitted before a single nail goes in. Nothing gets fastened until the fit is genuinely right.
STEP 05
Fasten into framing
Trim gets nailed into studs, plates, and blocking rather than drywall alone, with fasteners set below the surface so they disappear entirely under filler and paint. Blocking gets added first where framing is not where it needs to be.
STEP 06
Fill, sand, and finish
Nail holes and joints get filled, sanded flush, and caulked only where caulk genuinely belongs, then the final coat goes on and the room gets cleaned up. You are left with a finished room rather than a punch list.
Get Your Free Estimate
LET US COPE THE CORNERS PROPERLY, FREE.
Trim is the detail people notice without knowing why. Get in touch through the contact page and we will look at the room, talk through profiles, and price the work before anything starts. There is no obligation attached to the visit.
WHAT YOUR TRIM QUOTE COVERS:
✓ Room checked for bow, level, and square first
✓ Material chosen for each room's moisture exposure
✓ Layout planned so seams fall out of sight
✓ Coped inside corners and back cut outside corners
✓ Fastened into framing, never drywall alone
✓ Holes filled, sanded, and finished properly