

Caulking
CAULKING IN Vancouver, WA
Doors and windows together account for roughly a fifth of the air leaking out of a typical house, and a quarter inch gap around two exterior doors adds up to about 20 square inches of open hole in the wall. TTP Handymen handles caulking throughout Vancouver, WA, cutting out failed beads, prepping joints to a proper 2 to 1 width to depth ratio, and applying sealant rated for where it actually lives. Free quotes, licensed and insured to $1 million.
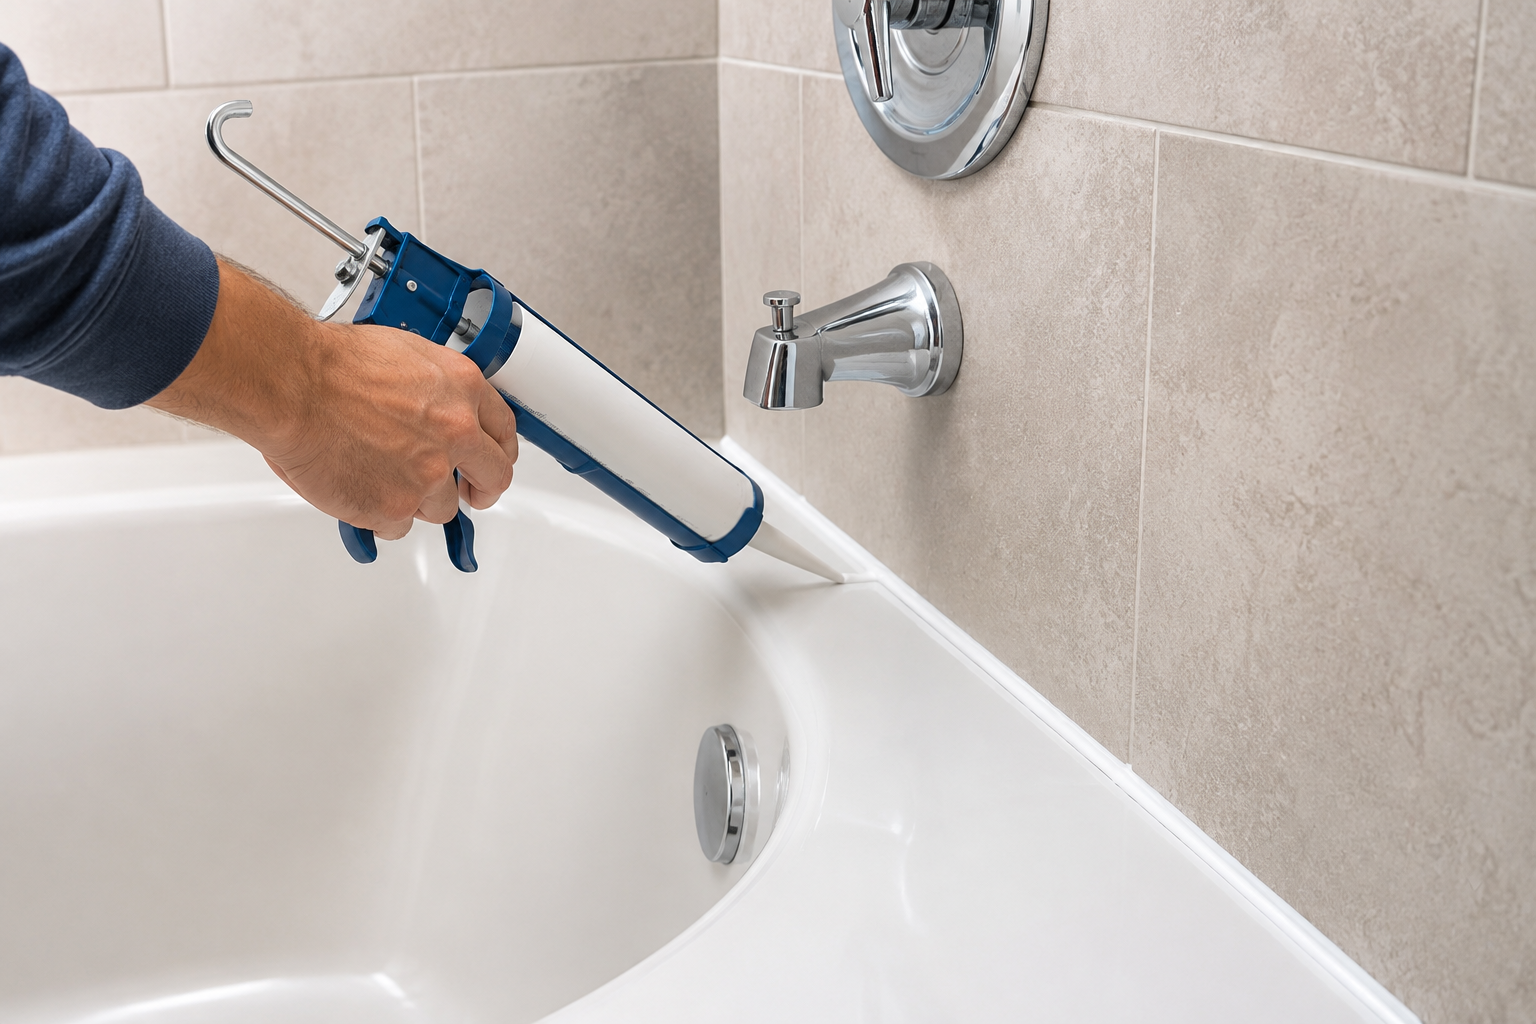
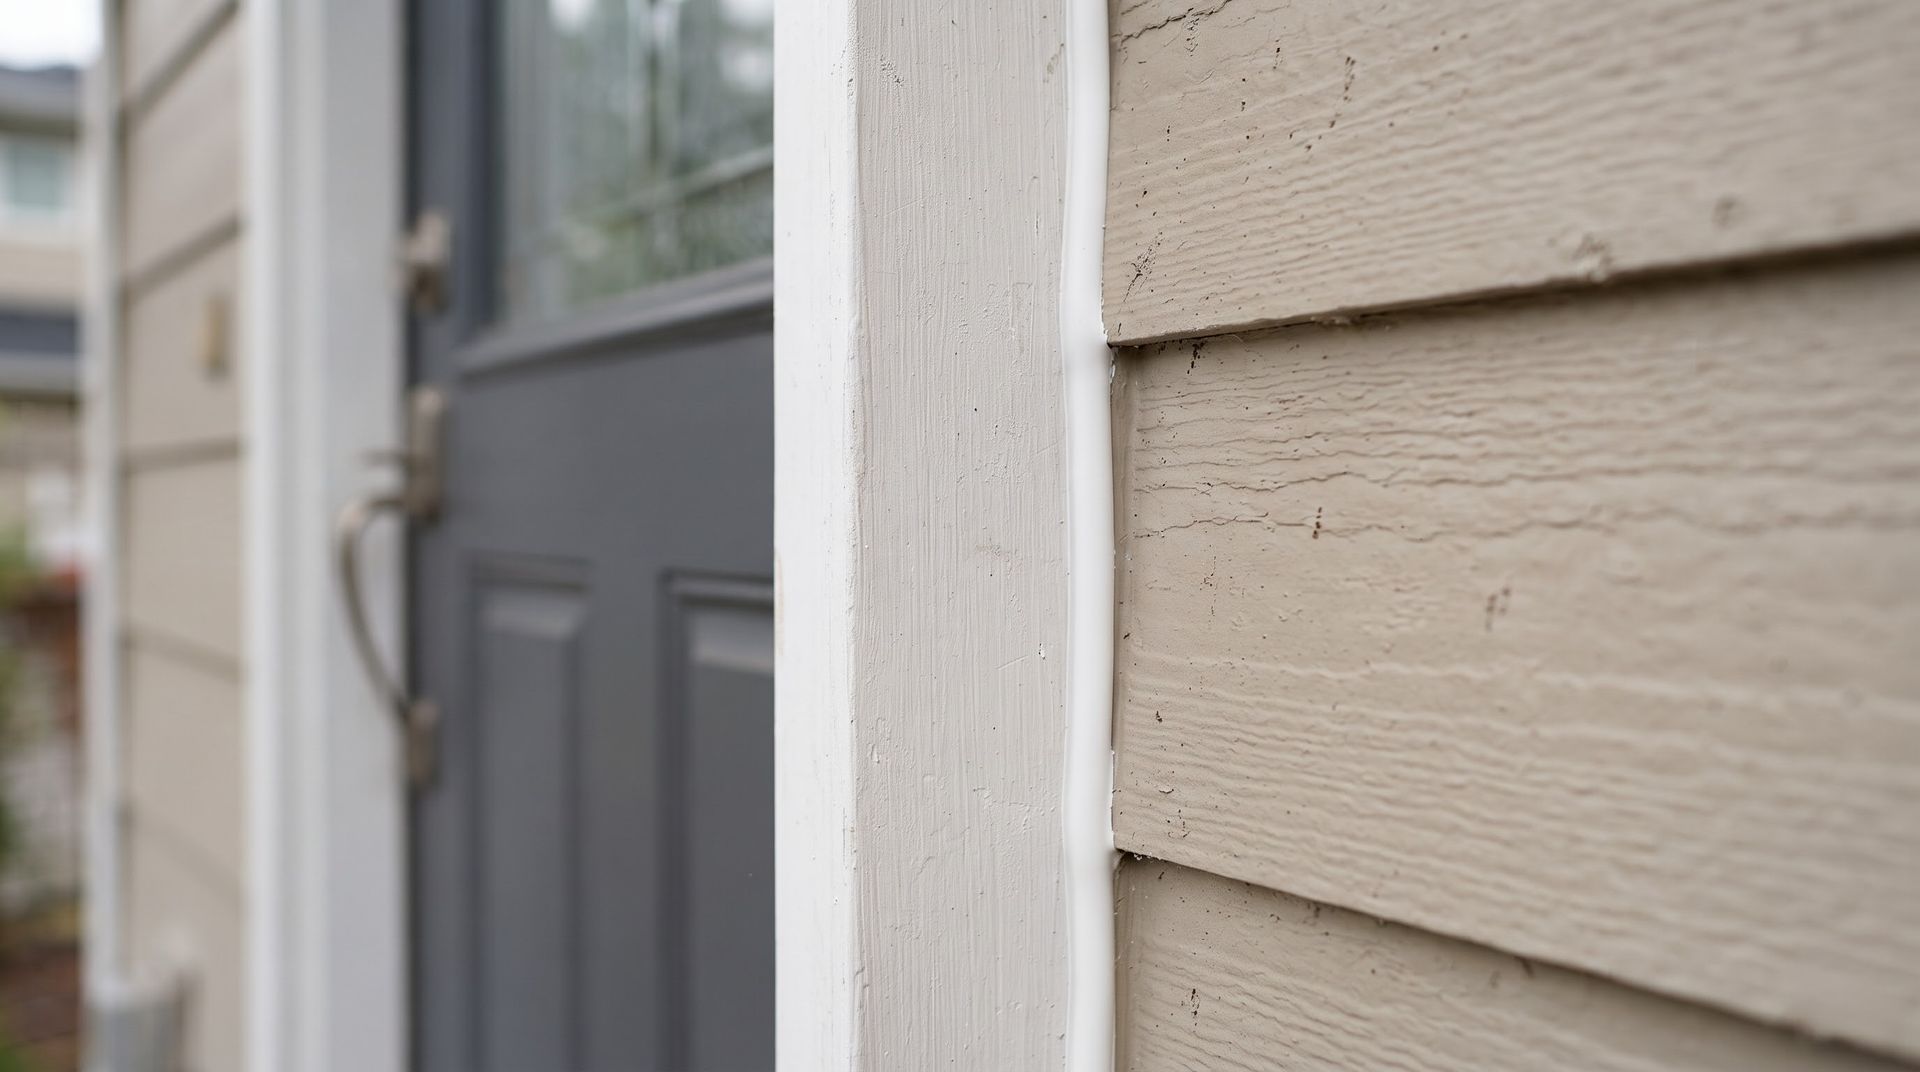
CAULK FAILS QUIETLY AND THEN ALL AT ONCE.
A bead does not announce itself. It shrinks a little each season, opens a hairline crack nobody notices, lets in a bit of moisture, and then one wet winter the trim behind it has gone soft. By that point the repair is carpentry rather than sealant, and the cost has multiplied several times over.
Removing the old material completely, rather than laying a fresh bead over a failed one, is what separates a joint that lasts 20 years from one that opens up again by next winter.
✓ Old caulk cut out completely, never layered over
✓ Backer rod installed in any joint over three eighths of an inch
✓ Sealant chosen for wet areas, exteriors, or painted surfaces
✓ Tooled finish that sheds water instead of holding it
CAULKING
EVERY JOINT ON A HOUSE IS A DECISION SOMEBODY MADE
Where two materials meet, something has to bridge the gap while both sides expand and contract at different rates. Get the joint geometry wrong and the sealant tears at the edges within a couple of seasons. Get the product wrong and it will not hold paint, or it will mildew in a shower, or it will refuse to cure in cold weather. We size the joint first, then choose the material, then apply it.
SOME JOINTS SHOULD BE LEFT OPEN, AND WE KNOW WHICH.
The instinct to seal everything causes real damage in a climate this wet. Horizontal siding butt joints and the bottom edge of lap siding need to drain and breathe, and sealing them traps water inside the wall assembly instead of letting it escape. We seal what should be sealed and deliberately leave the drainage paths alone, which is the opposite of what most rushed exterior jobs do.
A GOOD BEAD IS INVISIBLE. A BAD ONE IS EXPENSIVE.
Nobody notices caulking done right, which is exactly the point. What gets noticed is the ropey line around a shower that turned black, the shrunken gap over a window head, and the smeared mess on painted trim. Across 4 years of exterior and bathroom work we have learned that the tooling and the cure conditions matter as much as the product, and we will not run a bead below the temperature it needs.
WHAT A PROPERLY SEALED HOUSE DELIVERS
LOWER ENERGY BILLS
Sealing air leaks and improving insulation saves an average of fifteen percent on heating and cooling, and joints are where most of that leakage happens.
DRY WALLS AND TRIM
Water that cannot get behind siding, windows, or door casings never gets a chance to reach the framing and sheathing hidden underneath, where rot does its most expensive work.
NO MORE DRAFTS
The cold spot near a window or an exterior door on a January evening usually traces to a failed joint rather than the glass or the door itself.
CLEAN BATHROOM LINES
A shower corner sealed with the right mildew resistant product stays white for years instead of turning black and demanding a scrubbing brush every few months.
PAINT THAT HOLDS
Painted trim almost always fails first at open joints where water works its way behind the coating. A sound, paintable bead keeps the finish intact along every edge.
FEWER PEST ENTRIES
Insects and rodents use exactly the same gaps that air does. Closing exterior penetrations, trim joints, and utility entries removes the easiest routes into the building envelope.
WHAT WE SEAL
OUR CAULKING WORK
Sealant work happens in very different environments around a single house, and each one carries its own product, prep, and cure requirements. These are the areas we are asked to handle most often.
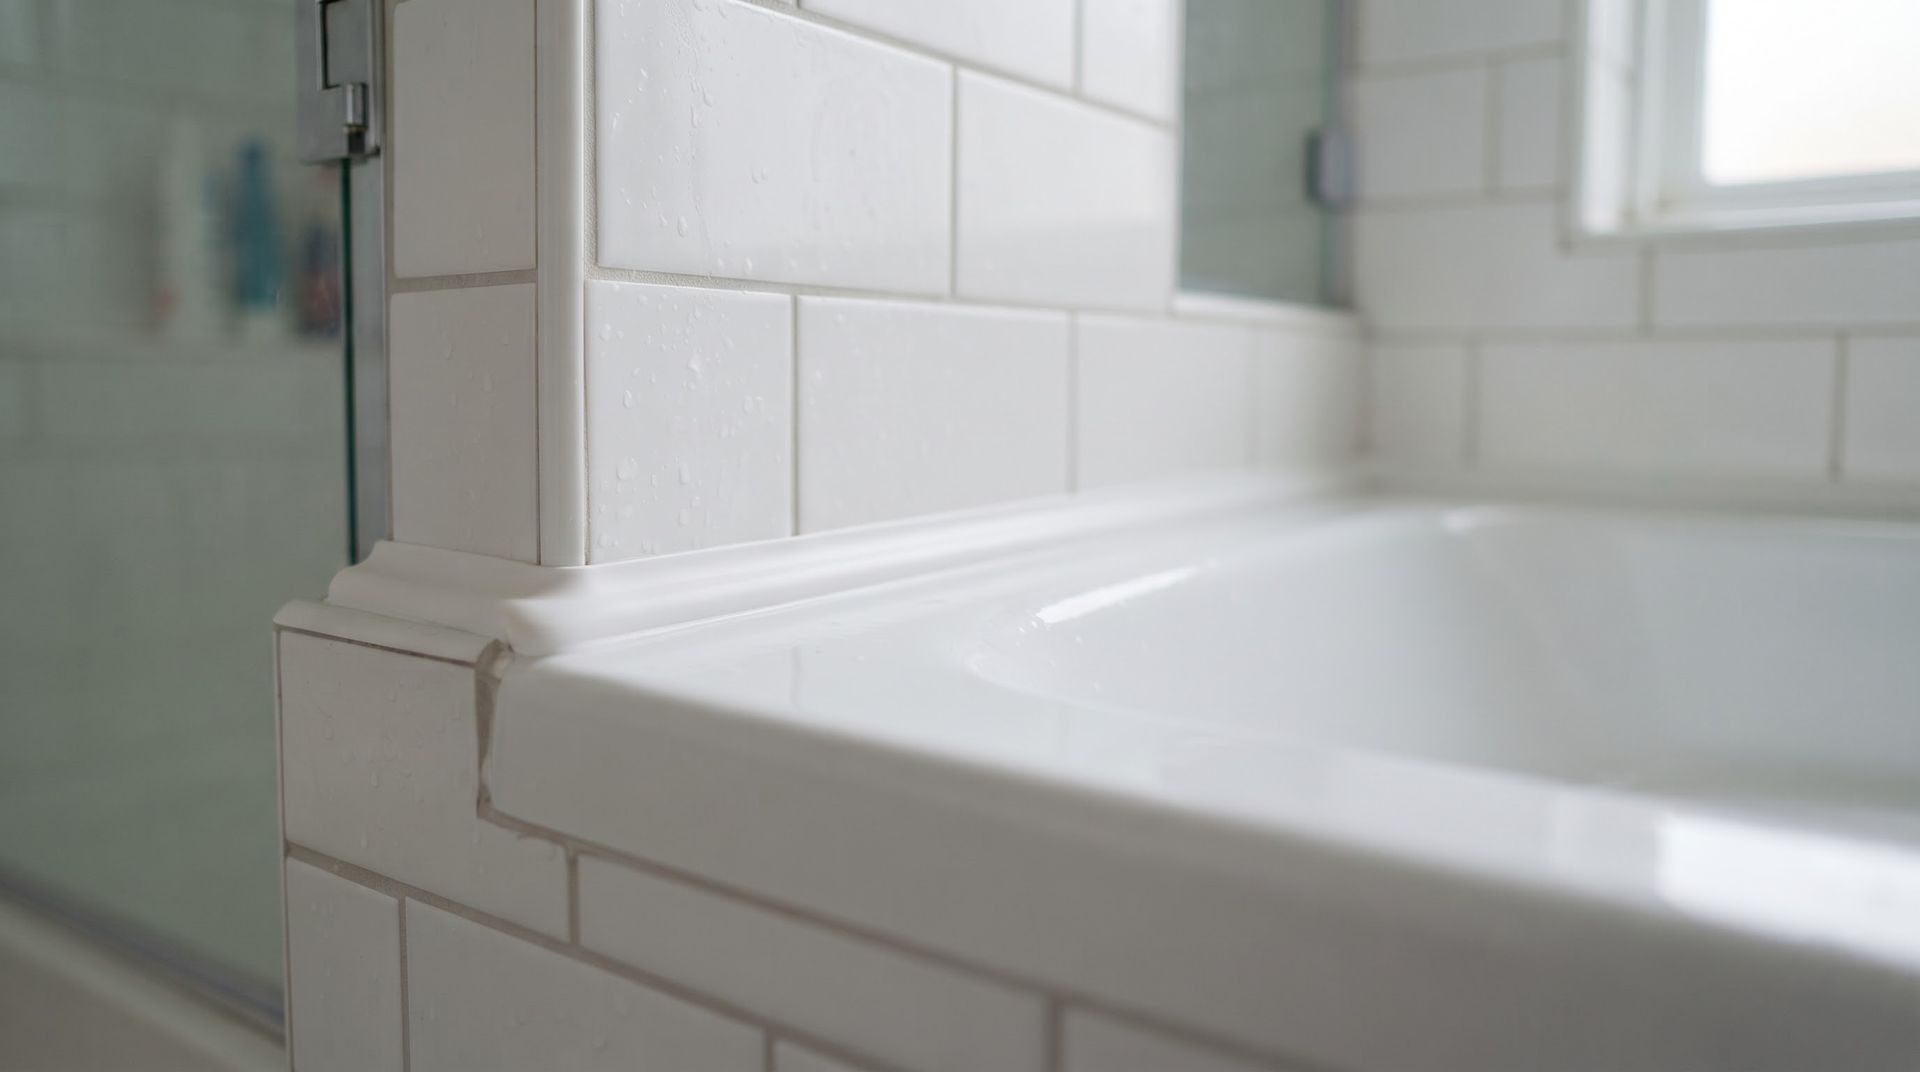
WET AREAS
Tub and Shower Sealing
Old, mildewed sealant gets cut out and the substrate dried fully before anything new goes down. A mildew resistant silicone is then run and tooled into a clean profile that sheds water instead of holding it.
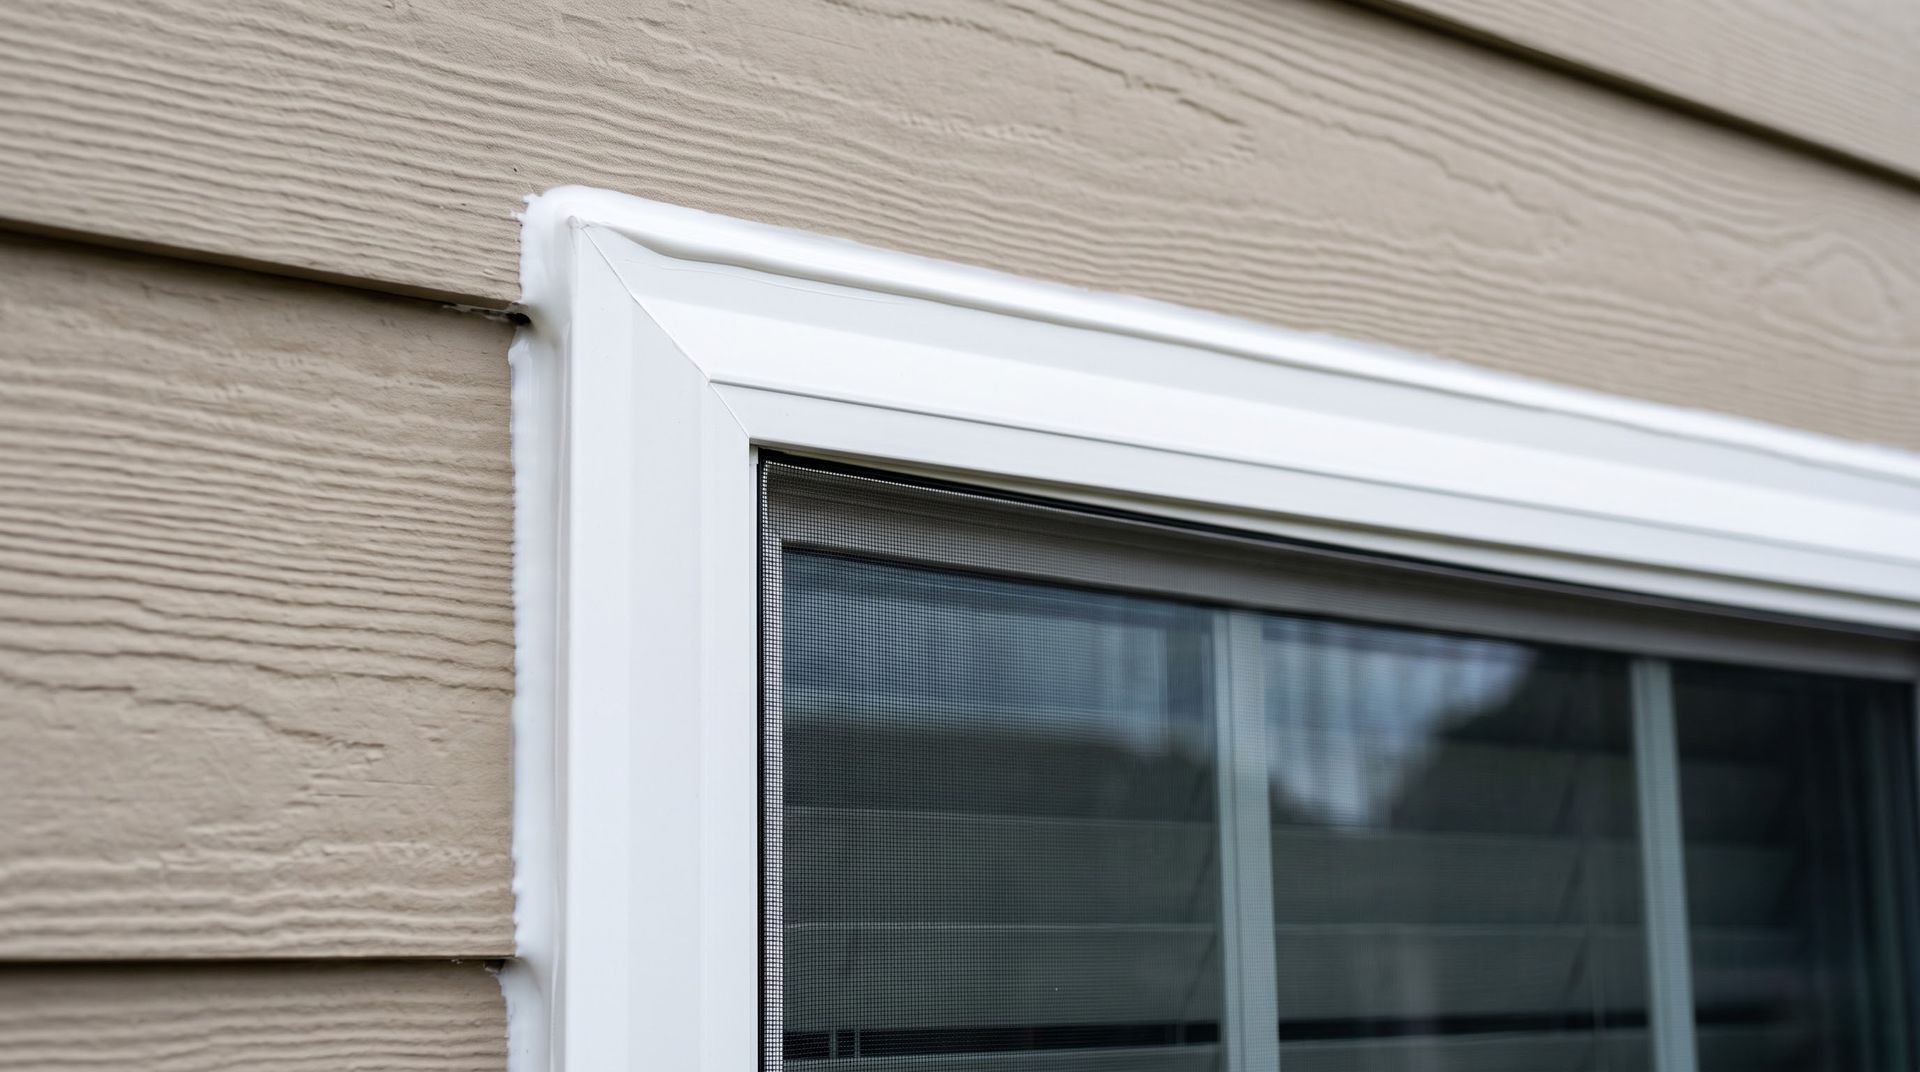
EXTERIOR TRIM
Window and Door Perimeters
Head and jamb joints get sealed while sill and drainage paths stay open. This is the single highest value exterior sealing on most houses, and the most commonly done wrong.
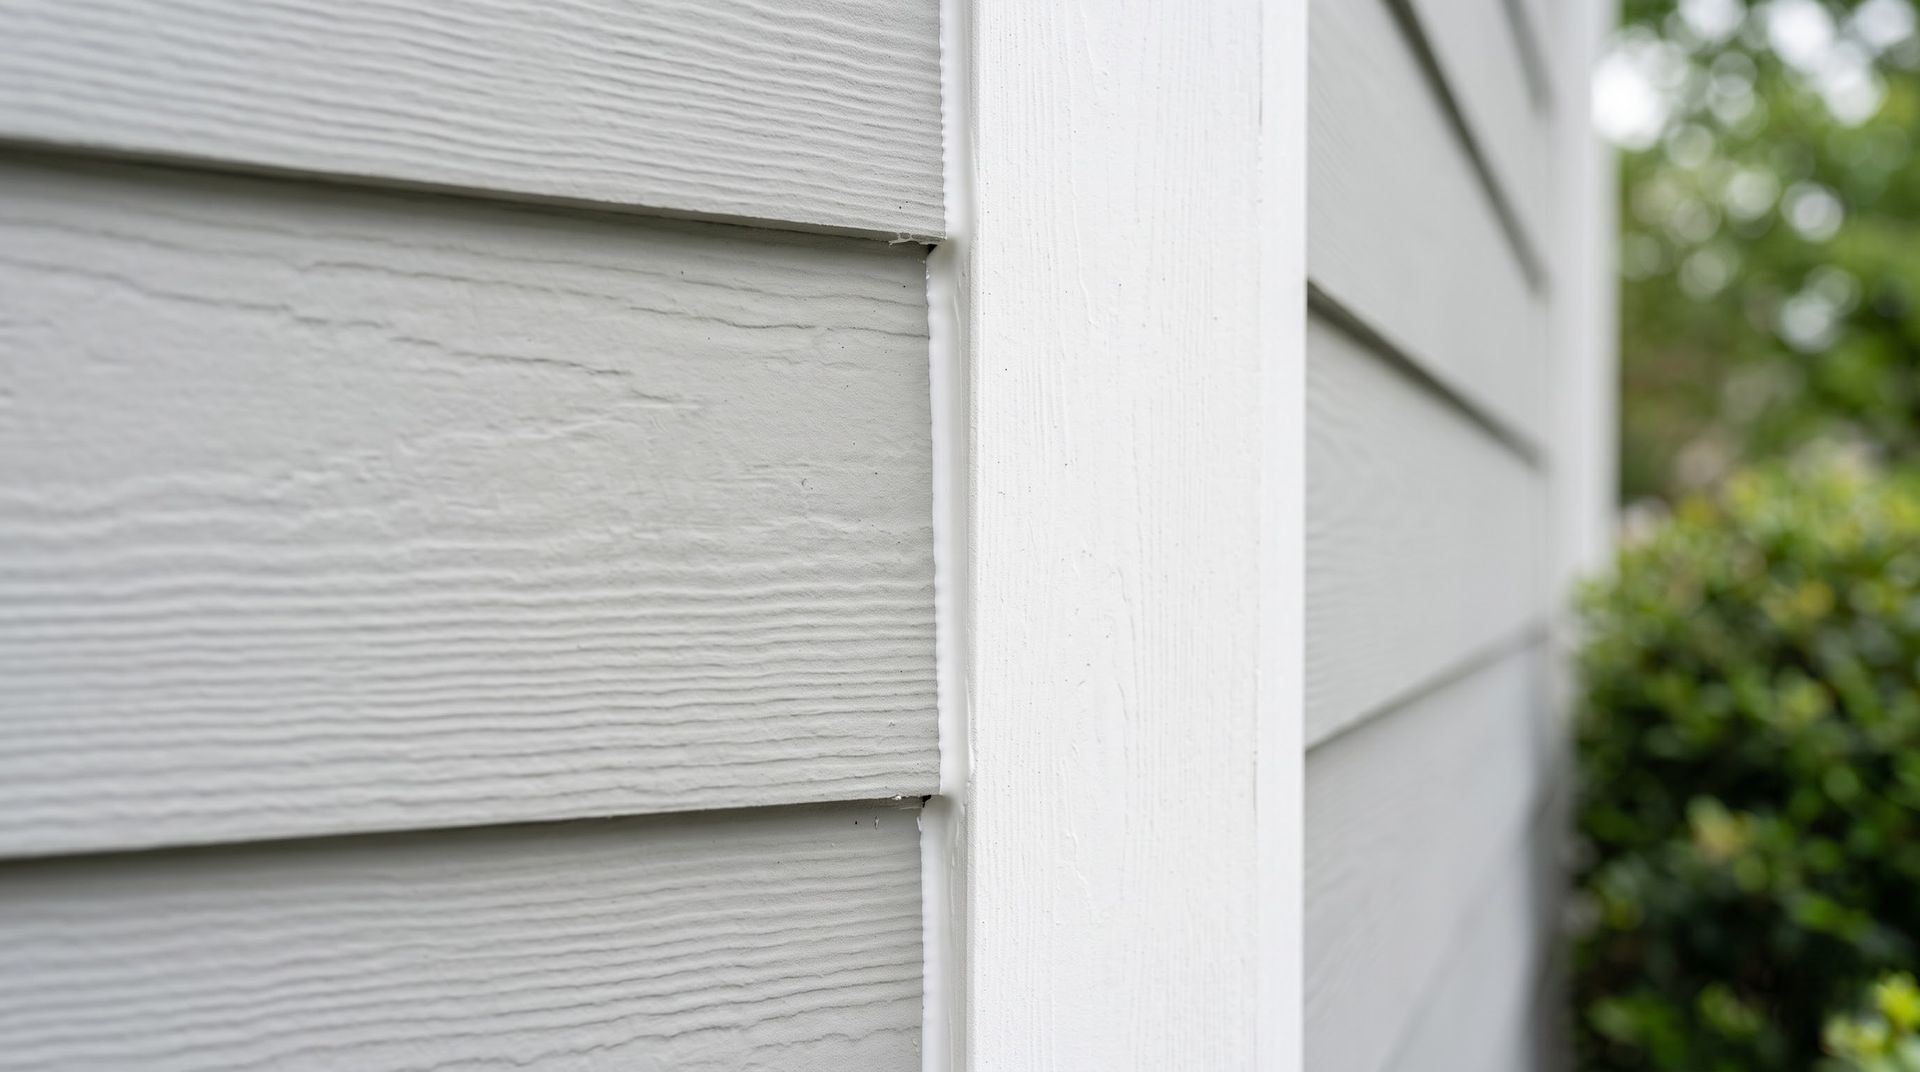
SIDING
Siding Joint Repair
Vertical butt joints, corner boards, window trim returns, and material transitions get sealed with a flexible exterior grade product that holds paint properly and moves with seasonal expansion and contraction.
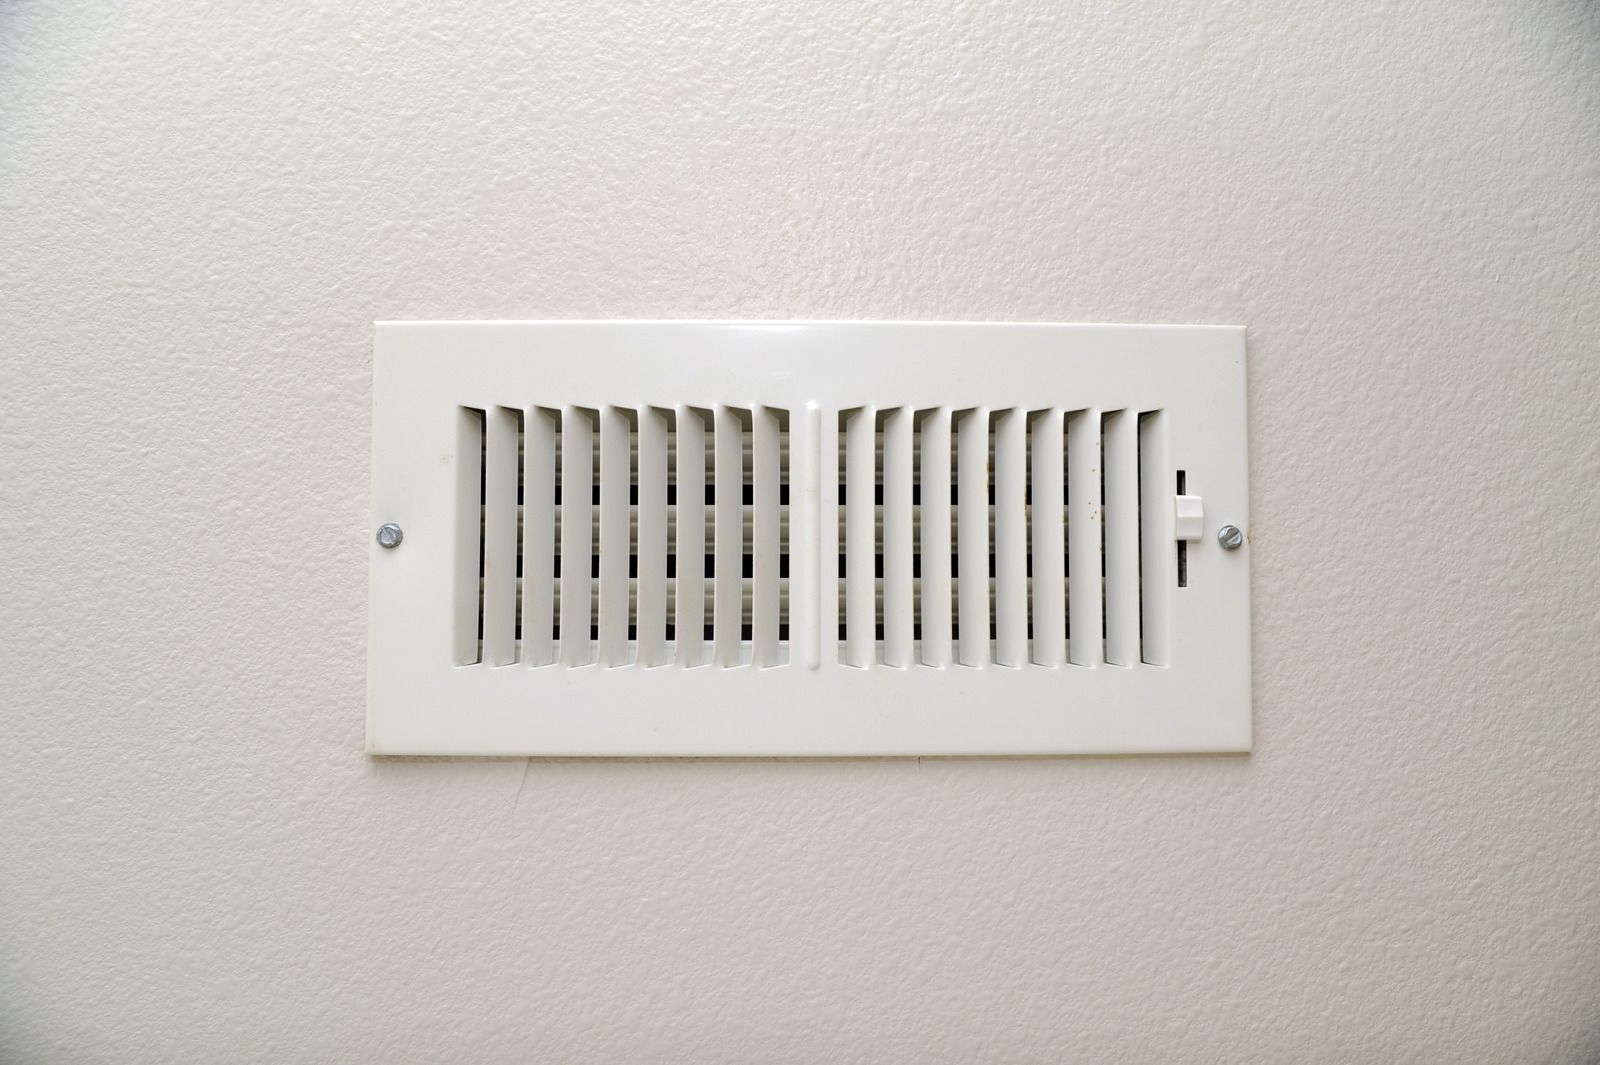
PENETRATIONS
Utility and Vent Sealing
Hose bibs, dryer vents, electrical penetrations, and conduit entries all leave gaps in the weather barrier behind the siding. Each one gets closed with a product suited to the surrounding material.
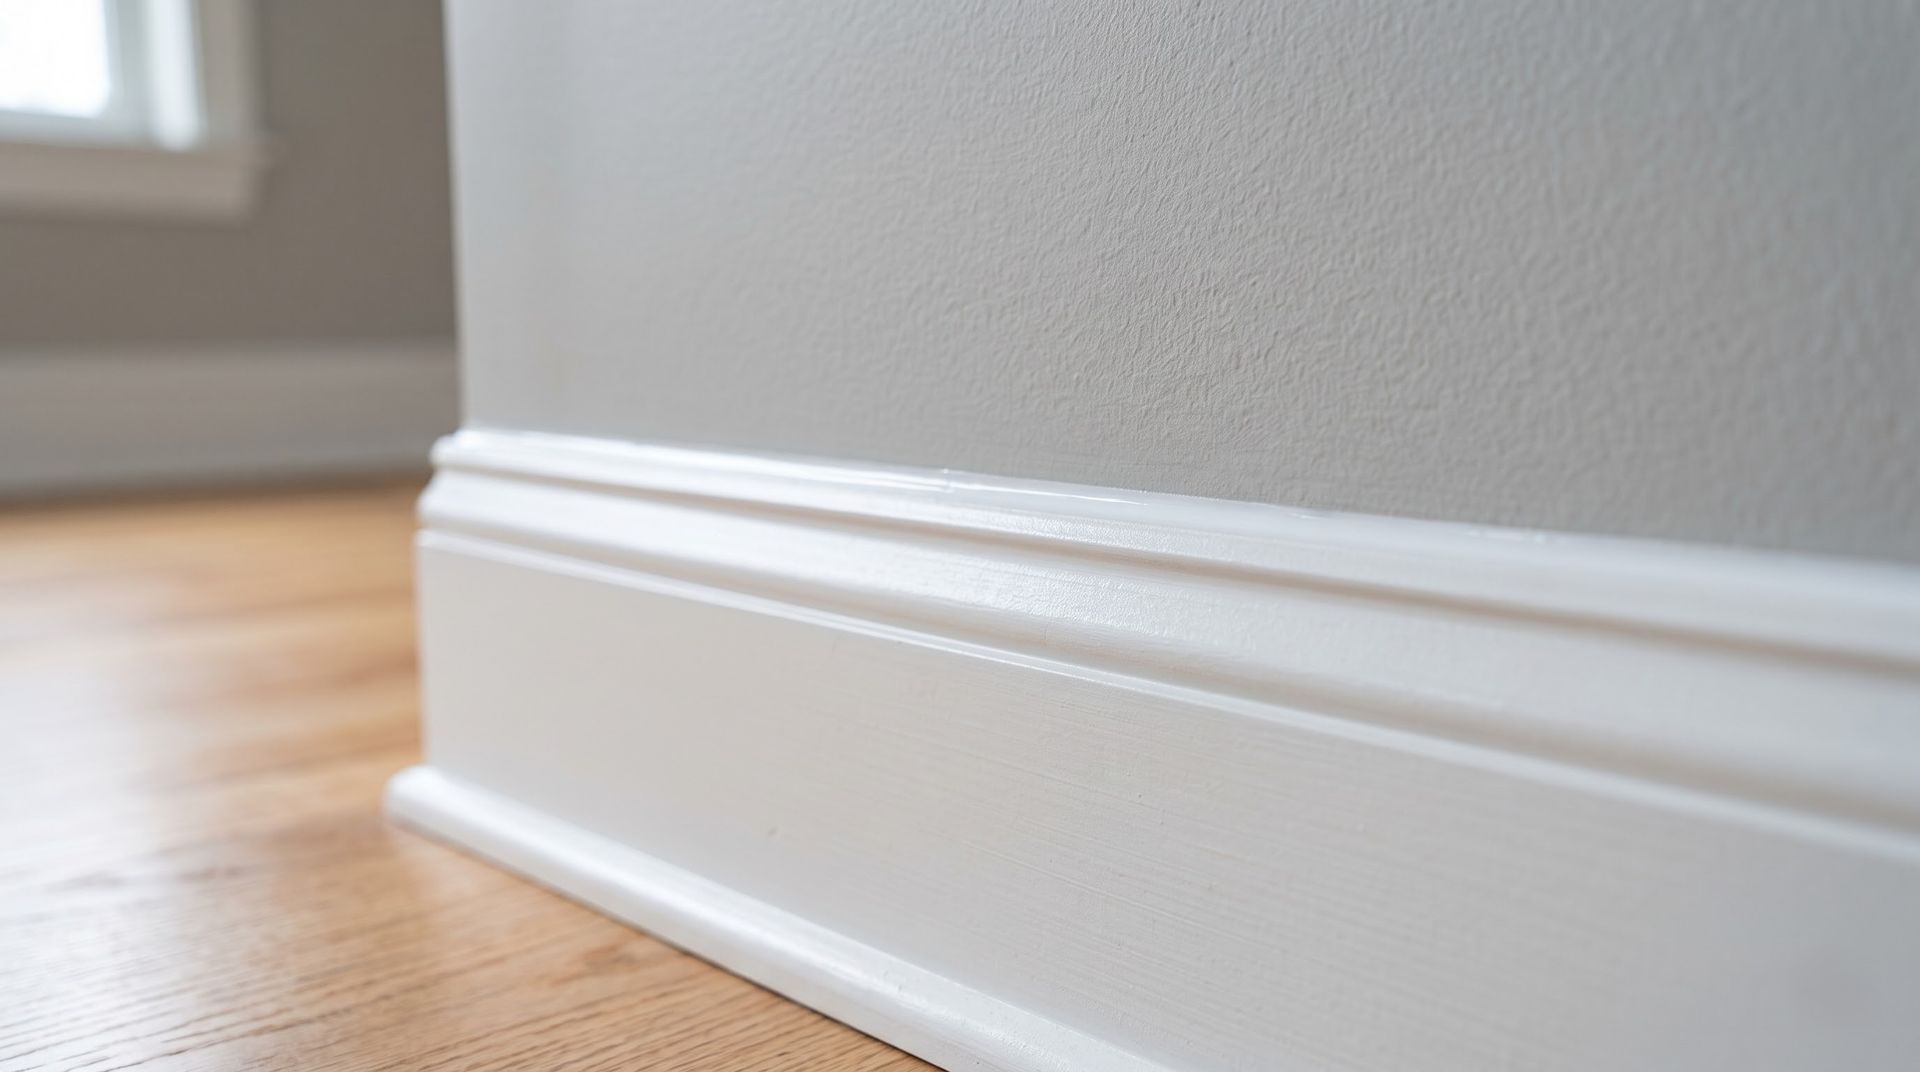
INTERIOR
Baseboard and Trim Caulking
The hairline gap between trim and wall is what makes painted millwork read as unfinished. A thin, tooled bead before painting closes it and makes the whole room look sharper.
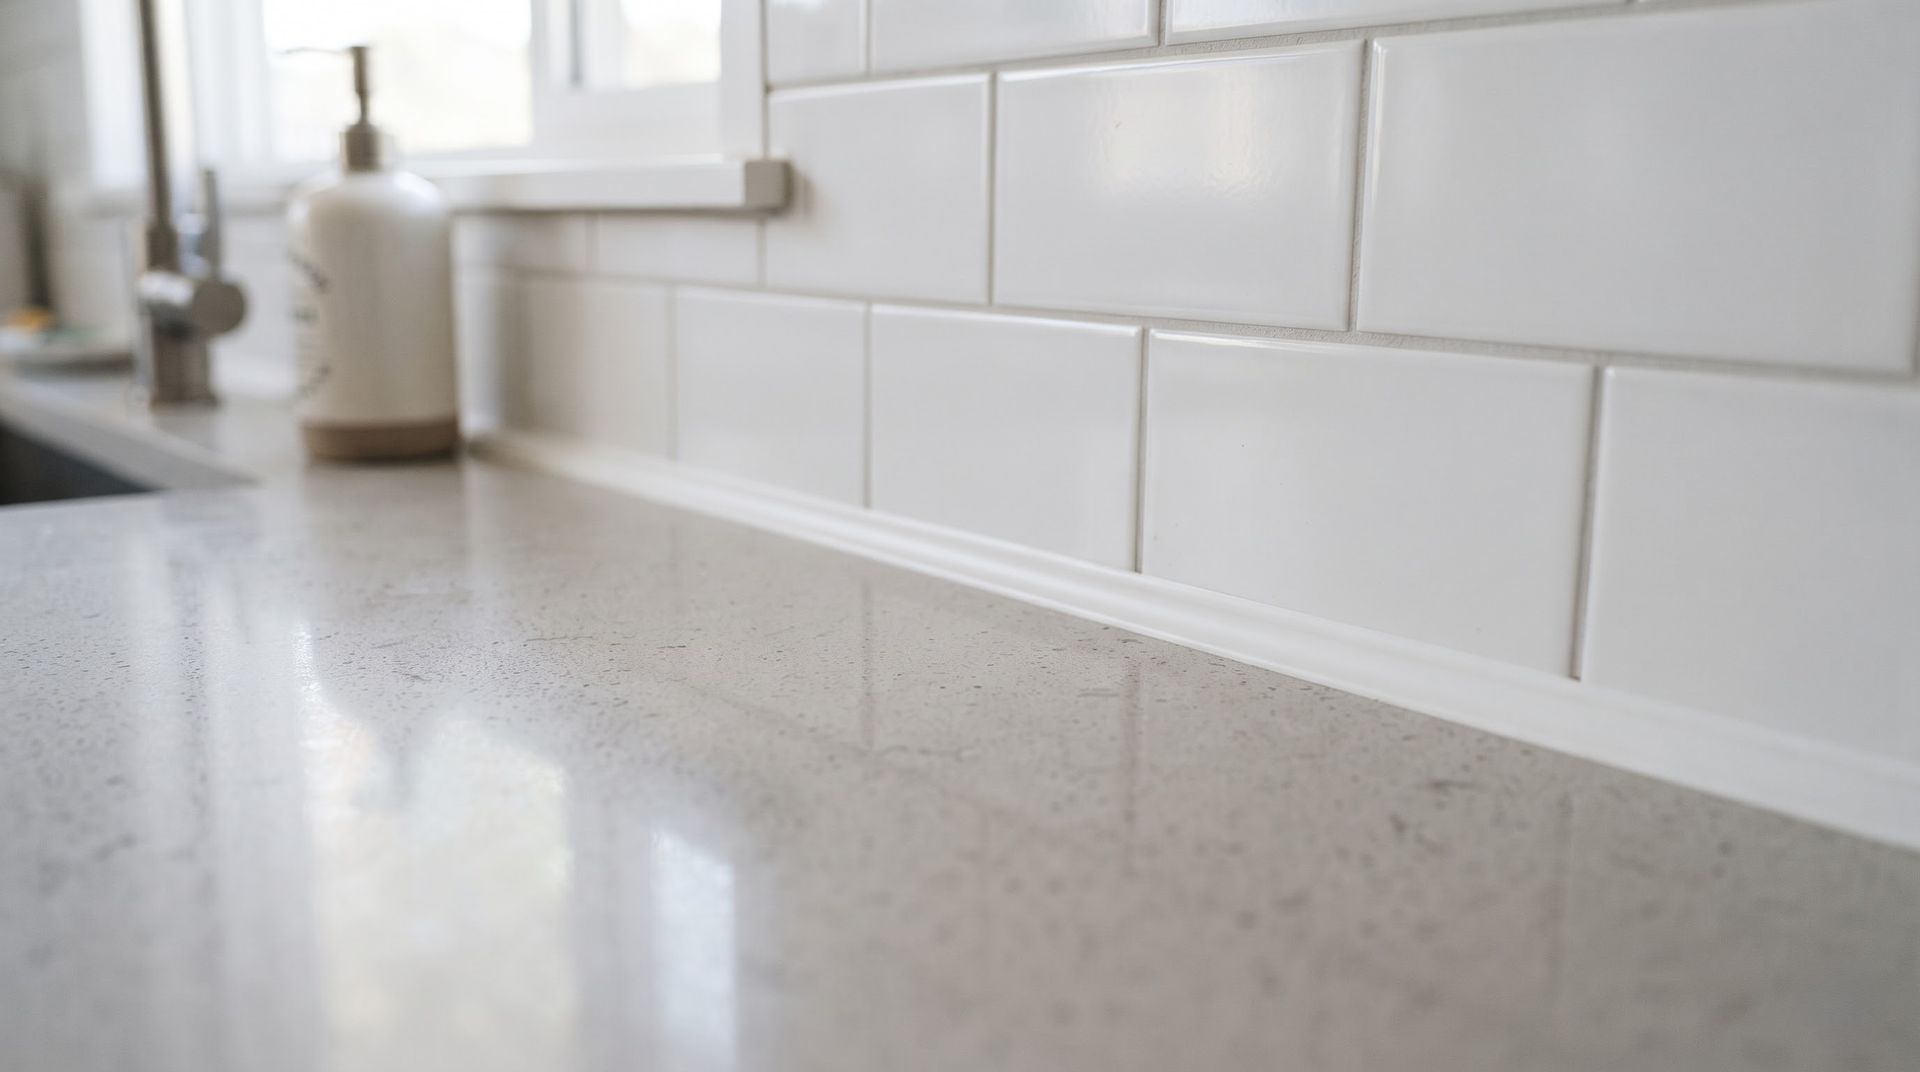
COUNTERS
Countertop and Backsplash Joints
The seam where a counter meets the wall takes constant water from sinks and cooking. Sealing it correctly keeps moisture out of the cabinet box and the drywall directly behind it.
THE WORD ON OUR WORK
WHAT OUR CLIENTS SAY.
Caulking rarely gets its own thank you note, but people do notice when a bathroom stops smelling musty and when the drafty room finally is not. The feedback we get most often is about how clean and straight the finished lines look afterward.
FAQ
FREQUENTLY ASKED QUESTIONS.
Sealant questions come up constantly, especially around bathrooms and exterior trim. Here is what homeowners across Vancouver most often want to know before booking sealing work on their own house.
How often should caulking be replaced?
Inexpensive products may only last a few years, while premium sealants are designed for twenty or more. Inspect exterior joints annually and shower corners whenever you see discoloration, shrinkage, or separation. TTP Handymen LLC seals joints across Vancouver, WA.
Can you caulk over old caulk?
No. New sealant will not bond properly to a cured, dirty, or mildewed surface, so the repair fails early and looks bulky. The old material has to come out completely first.
Why does the caulk in my shower keep turning black?
That is mold growing in or behind the bead, usually because moisture got underneath it or the product was not mildew resistant. It has to be removed, the substrate dried, and a suitable silicone applied.
What temperature is too cold to caulk outside?
Most silicone products need surfaces above freezing to cure properly, and many perform far better well above that. In practice, exterior sealing here works best from late spring through early fall.
Should the bottom edge of siding be caulked?
No. Lap siding drains and dries at that edge, and sealing it traps water inside the wall. Knowing which joints to leave open matters as much as knowing which to close.
How long before I can shower after new bathroom caulk?
Give it a full 24 hours. Most silicone sealants skin over quickly but need a complete day to cure through, and exposing the joint to water early compromises the bond permanently.
Why does my caulk keep cracking and pulling away?
Usually the joint is too deep, too narrow, or too wide for the product. A proper joint runs about twice as wide as it is deep, with backer rod controlling depth on larger gaps.
What is the difference between caulk and sealant?
Caulk is generally a paintable, lower movement acrylic or latex product. Sealant usually means silicone or polyurethane, which handles far more movement but often cannot be painted over at all. Familiar ground for TTP Handymen LLC across Vancouver, WA.
HOW WE WORK
FROM OPEN JOINT TO TOOLED BEAD, HERE IS HOW.
STEP 01
Survey every joint
We walk the exterior and every wet area inside, marking failed, missing, and incorrectly sealed joints one by one, and identifying which ones should deliberately stay open for drainage rather than being closed up.
STEP 02
Remove the old material
Failed sealant gets cut and scraped out completely, right down to the substrate. Residue left behind is the single main reason repeat caulking jobs fail early, so everything gets taken back to clean material.
STEP 03
Prepare and dry the joint
Surfaces get cleaned and, in wet areas, given real time to dry out fully. Any gap wider than about three eighths of an inch gets backer rod installed to set the correct joint depth.
STEP 04
Match product to location
Mildew resistant silicone for showers, flexible paintable products for exterior trim, and low movement material for interior millwork. One tube off the shelf does not serve all three of those jobs well, whatever the label claims.
STEP 05
Apply and tool
Beads get run at a consistent rate and tooled immediately into a profile that sheds water rather than holding it. Tooling is what forces contact with both faces of the joint and creates the bond.
STEP 06
Cure and check
Work gets protected during the full cure window, and we come back over the finished joints once they have set to confirm adhesion, look for pinholes, and touch up anything that pulled away.
Get Your Free Estimate
CLOSE THE GAPS BEFORE THEY OPEN THE WALL, FREE.
A morning of sealant work is one of the cheapest things you can do for a house in a climate this wet. Reach out through the contact page and we will walk the joints with you and price the work.
WHAT YOUR CAULKING QUOTE COVERS
✓ Full survey of interior and exterior joints
✓ Complete removal of failed sealant
✓ Backer rod where joint depth requires it
✓ Product matched to each location and substrate
✓ Tooled finish on every bead
✓ Drainage paths deliberately left open