

Tiling
TILING IN Vancouver, WA
Cement grout takes about 24 hours to dry and 48 to 72 hours to cure, should see no standing water for at least 72 hours, and cannot be sealed until it has fully cured, which can take up to 7 days. TTP Handymen handles tiling across Vancouver, WA, setting backsplashes, floors, countertops, and shower surrounds over properly prepared substrates with genuine waterproofing behind every wet wall. No charge for an estimate, and insured to $1 million throughout.
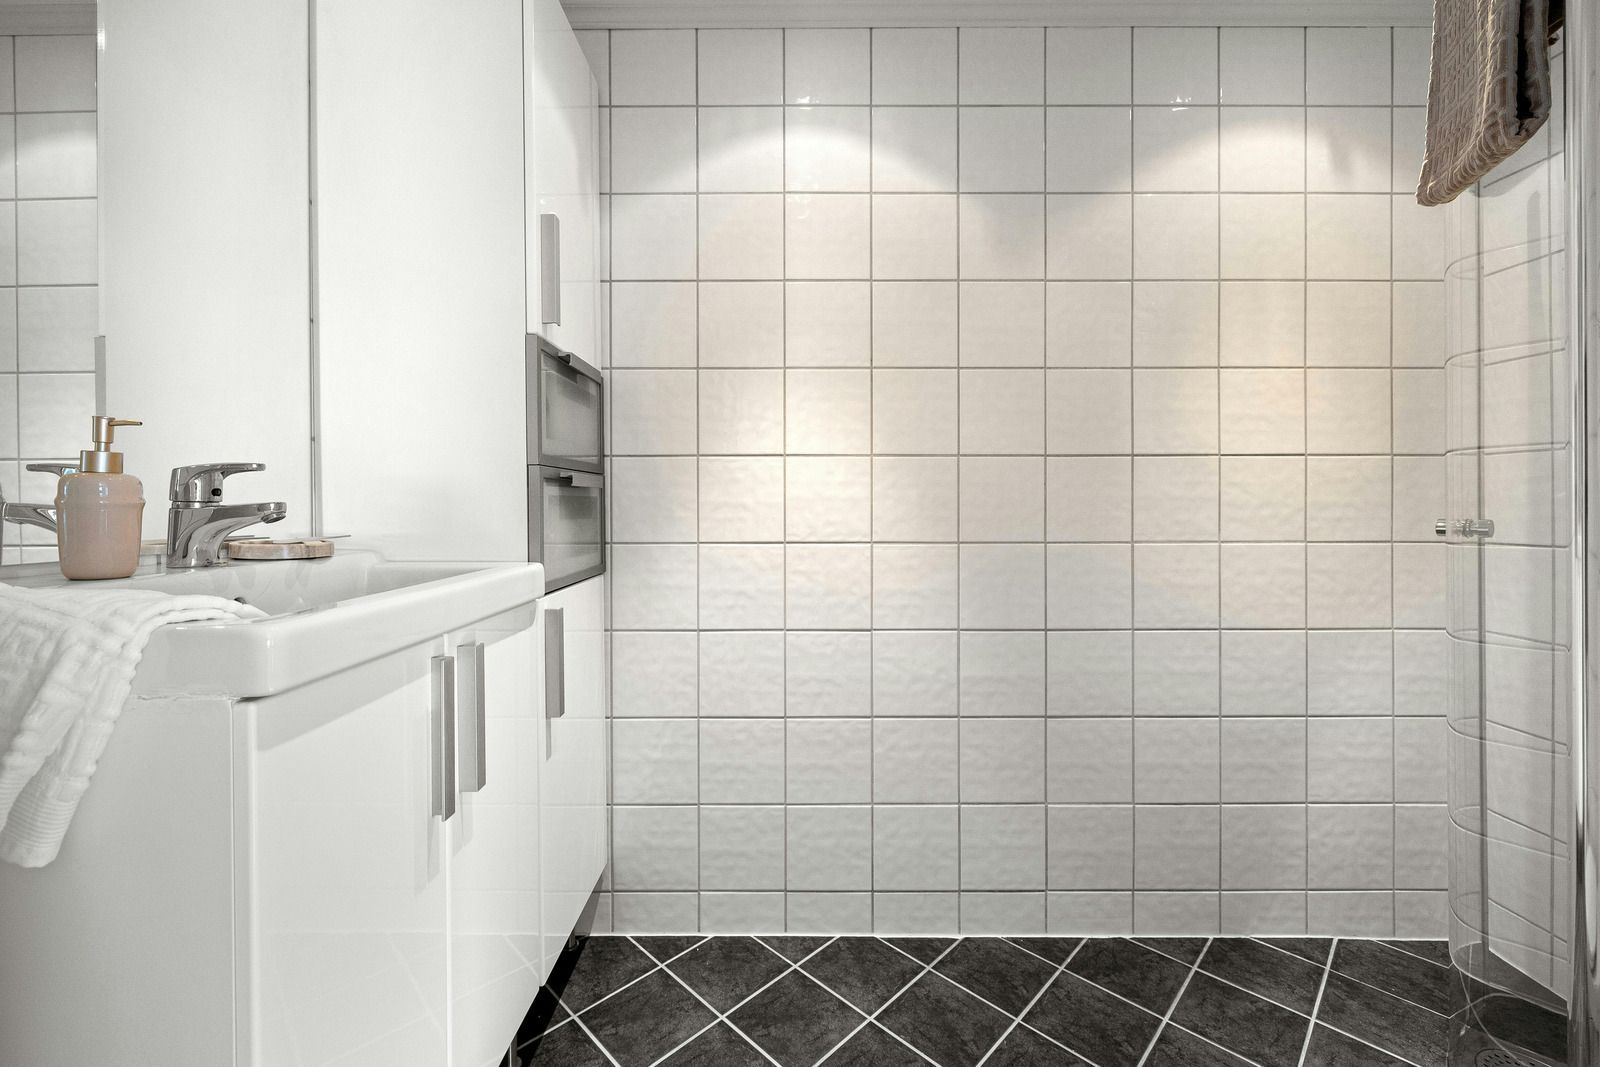
WHAT GOES BEHIND THE TILE MATTERS MORE THAN THE TILE.
Paper faced gypsum board is not an acceptable base for tile in a wet area, and yet it is what we find behind failed showers constantly. Approved backers are fiber cement, glass mat gypsum, or a fiber reinforced cementitious panel, and in a shower they still need a bonded waterproof membrane over them. Water finds the joint eventually.
That membrane is the difference between a shower that lasts 20 years and one that quietly rots the wall behind it. It costs very little and it is not optional.
✓ Approved backer board in every wet area
✓ Bonded waterproof membrane behind shower tile
✓ Substrate flatness checked before any tile is set
✓ Full cure time respected before sealing or use
TILING
LAYOUT IS DECIDED BEFORE THE FIRST TILE GOES UP.
Where the cuts land determines whether a finished installation looks considered or improvised. Full tiles at the sightline, cuts hidden at the edges, grout lines that align across a corner, and a backsplash that meets the cabinets and the window casing cleanly. All of that gets planned dry on the floor first. Setting tile without that planning is how a beautiful material ends up with a sliver cut in the most visible position in the room.
SLOW WINTER CURES CATCH PEOPLE OUT LOCALLY.
Cement grout that would cure in 48 hours in warm dry conditions can take up to 5 days in cold, humid ones, and a Vancouver bathroom in January qualifies. Rushing back into a shower before the grout has cured, or sealing it too early, undoes the work. We plan the schedule around real cure times here rather than the optimistic figures printed on the bag.
OUR GROUT LINES STILL LOOK STRAIGHT FROM THE DOORWAY.
That sounds like a small thing until you stand in a room where they do not. Across 4 years of tile work around Clark County we have learned that straight lines come from a flat substrate, careful layout, and taking the time to set a proper first row. Everything after that follows what came before it, which is why the first hour of a tile job matters more than the rest of the day.
WHAT PROPERLY SET TILE DELIVERS
A SHOWER THAT LASTS
Waterproofing behind the tile is what determines whether a wet area survives 20 years or starts rotting framing within 5 years. It is entirely invisible and entirely decisive.
NO LOOSE OR HOLLOW TILES
Full coverage of thinset over a flat substrate keeps tiles bonded, so nothing sounds hollow underfoot or works loose along a heavily used edge over time.
GROUT THAT STAYS INTACT
Correct joint width, the right grout type, and a genuine cure period produce joints that resist cracking instead of needing raking out and redoing within a few years.
CUTS WHERE NOBODY LOOKS
Planned layout puts full tiles at the sightlines and narrow cuts at the edges, which is most of what separates a professional installation from a competent amateur one.
EASIER CLEANING
Properly cured and sealed cement grout resists staining considerably better, and epoxy grout in high use areas removes the issue almost entirely. Sealing at the right time is what makes the difference.
A ROOM THAT FEELS FINISHED
Tile is a permanent surface people look at every day. Straight lines and consistent joints are what make a bathroom or kitchen read as genuinely done.
WHAT WE TILE
OUR TILING WORK
Tile work ranges from a single backsplash to a full shower rebuild. These are the installations we are asked for most often by homeowners around Vancouver and the surrounding communities. Layout gets planned before anything is ordered.
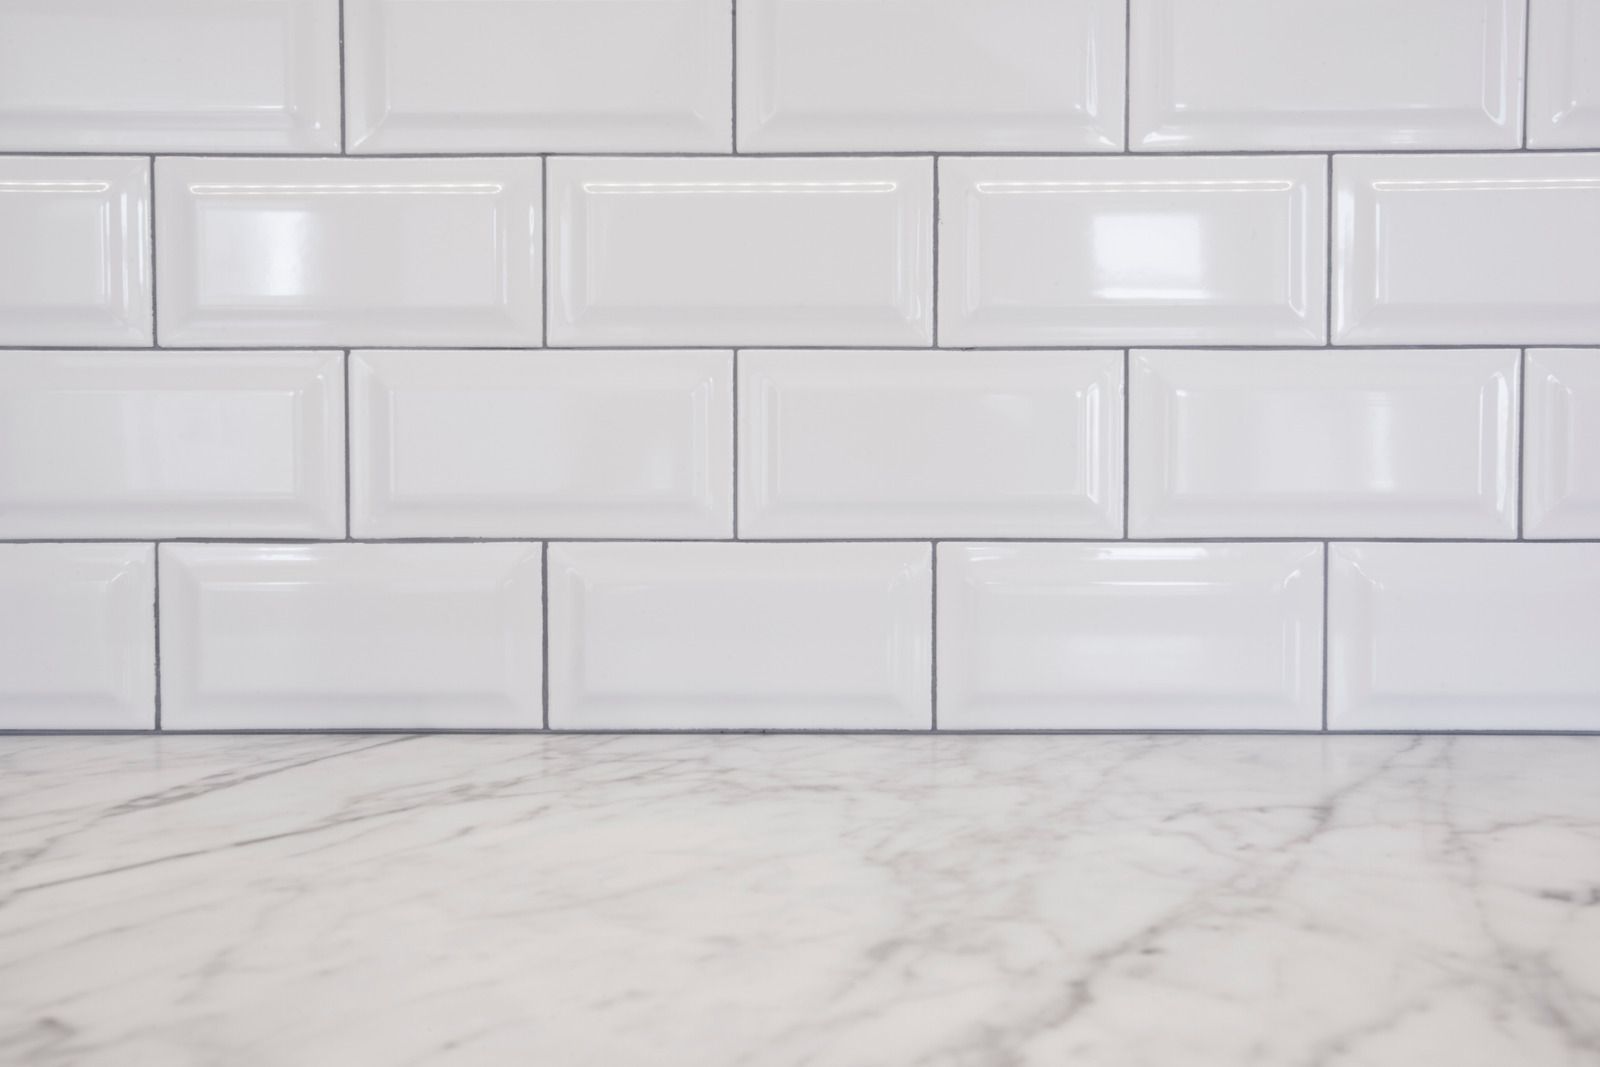
KITCHEN
Backsplash Installation
Backsplashes get laid out from the range and the window, with outlets planned into the pattern. Cuts around cabinets and casing get scribed rather than filled with caulk. Outlet covers get planned into the pattern rather than around it.
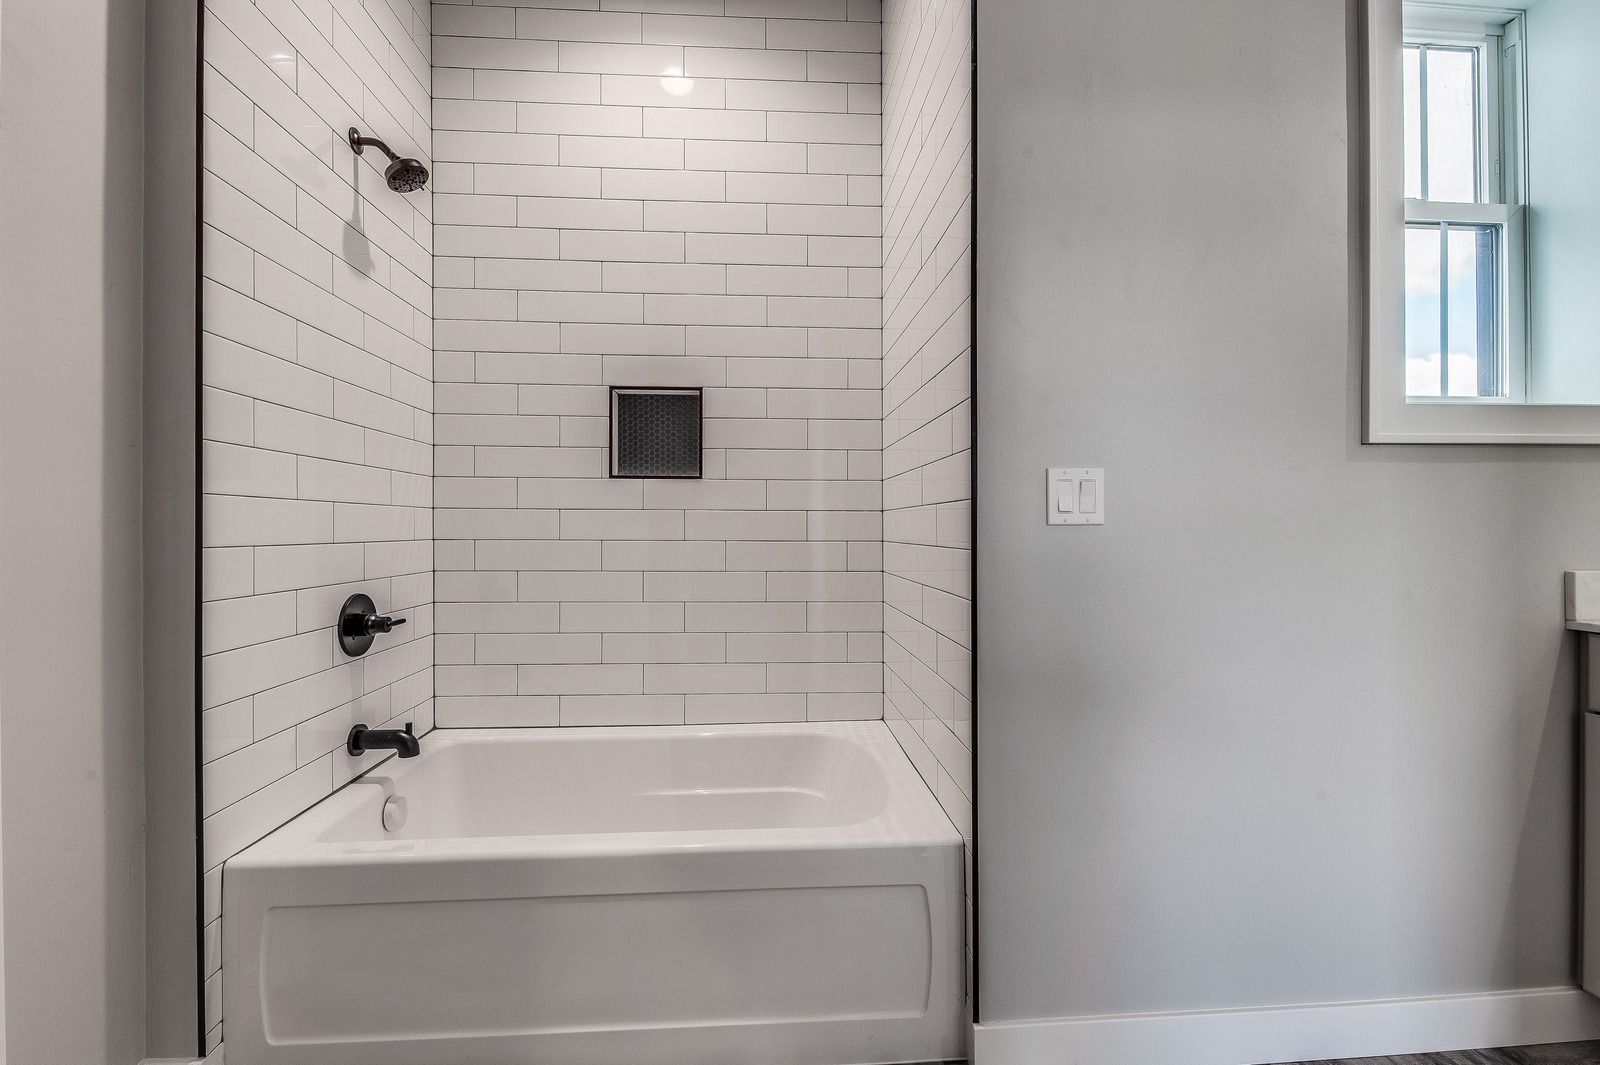
WET AREAS
Shower and Tub Surrounds
Wet walls get an approved backer plus a bonded waterproof membrane before any tile is set. Niches, benches, and curbs get detailed properly, since those are where failures start. Niches in particular need the membrane carried right through.
FLOORS
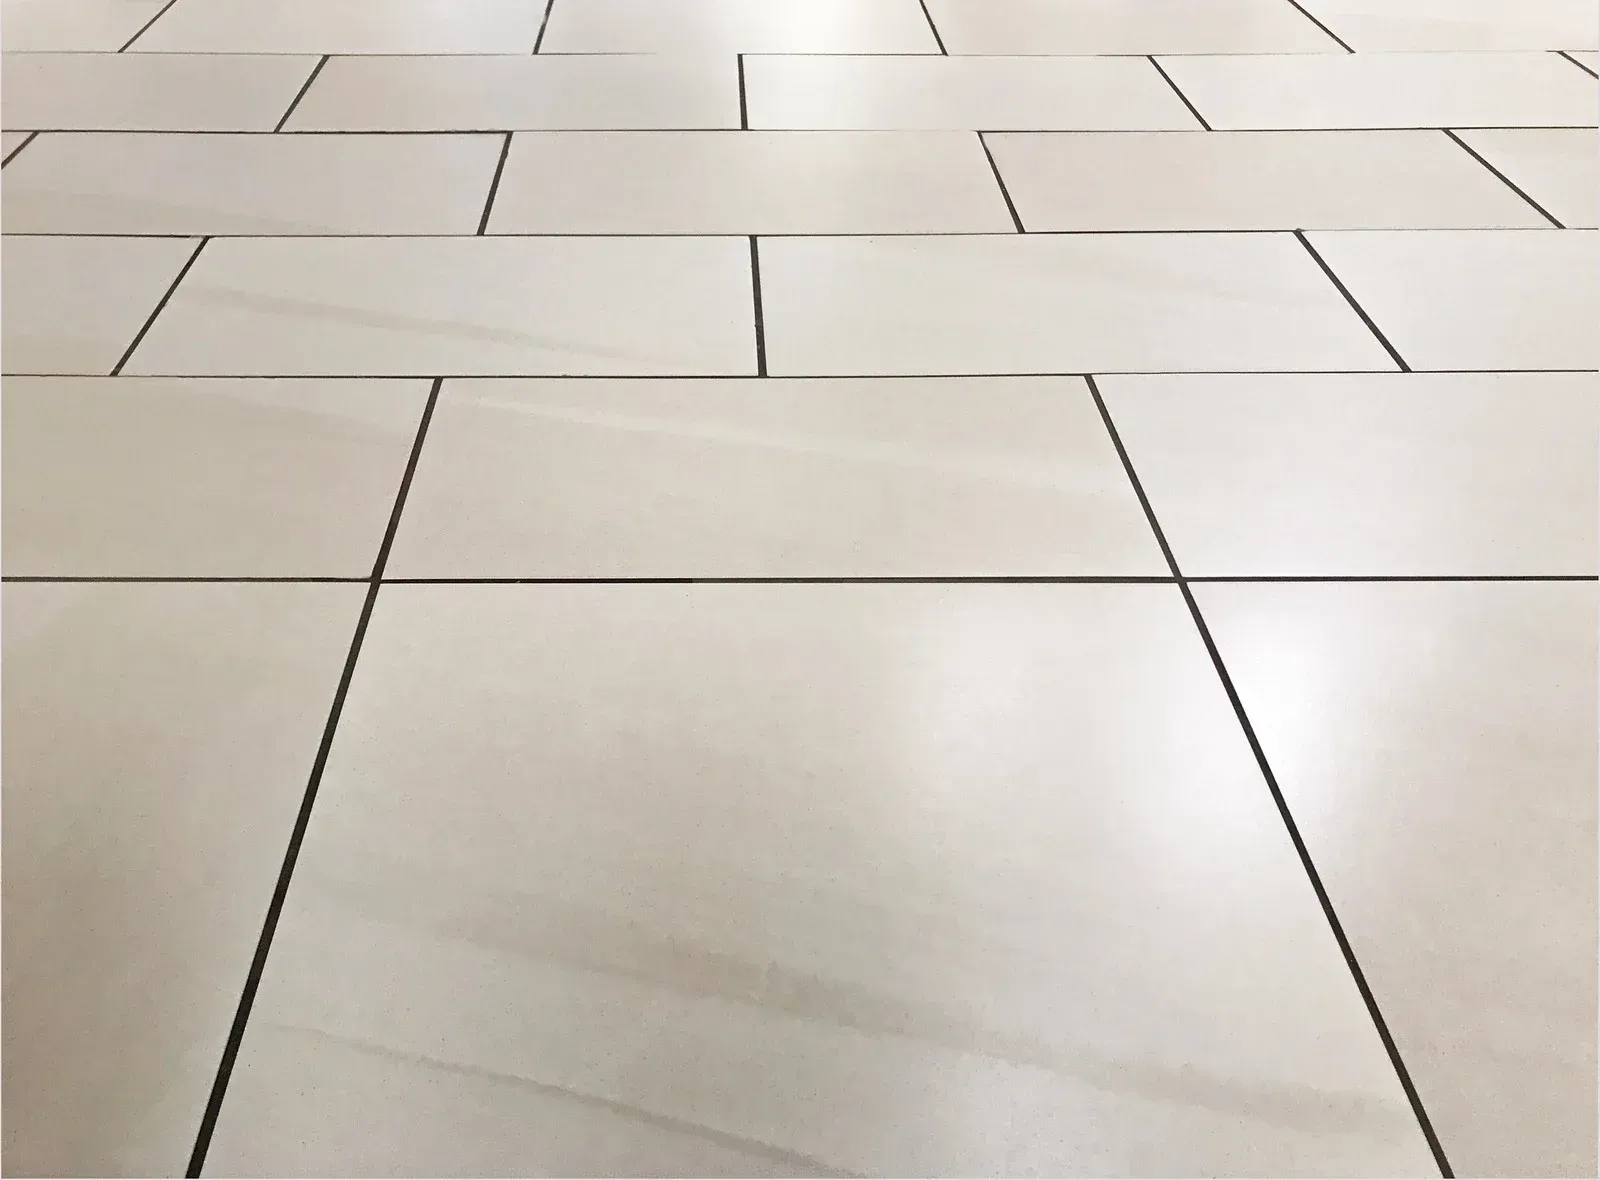
Tile Flooring
Floors go over a flat, sound, and where necessary decoupled substrate. Layout runs off the room's main sightline so cuts fall at the walls rather than in the doorway. Deflection gets checked before large format tile goes down.
SURFACES
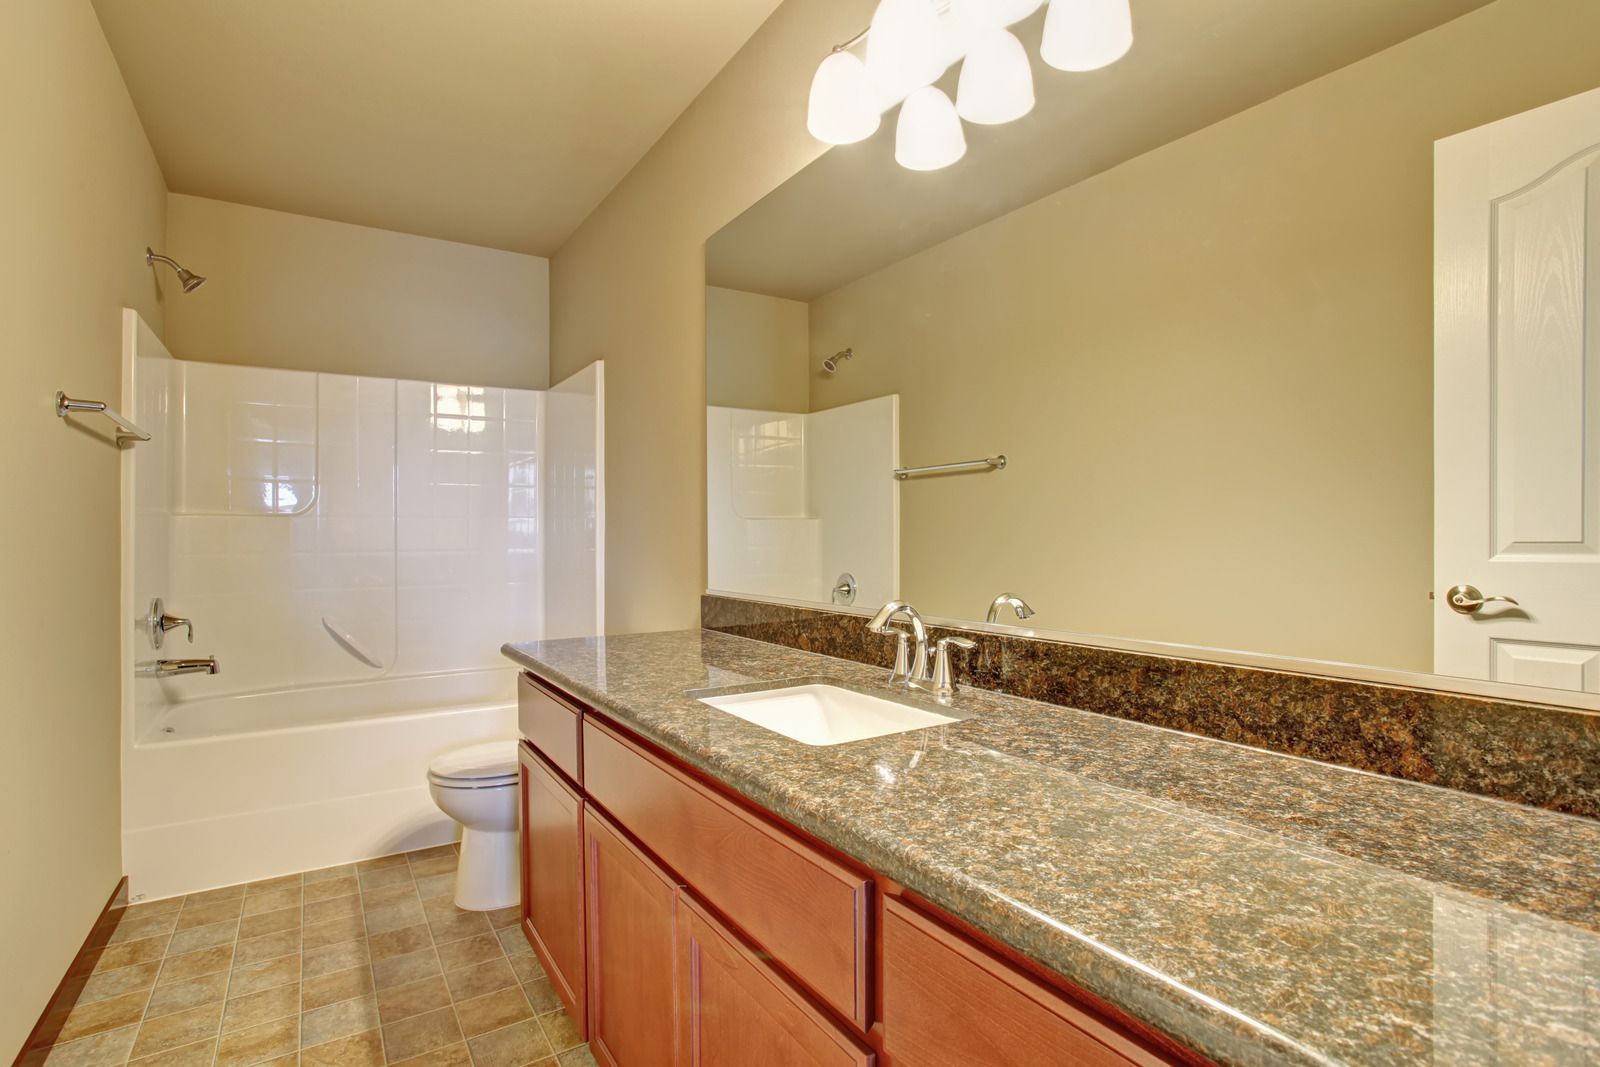
Countertops and Vanities
Tiled counters and vanity tops get set with attention to edge detail and joint placement around sinks and fixtures, where both water exposure and wear concentrate heavily. Epoxy grout is usually the better choice on a work surface.
REPAIR
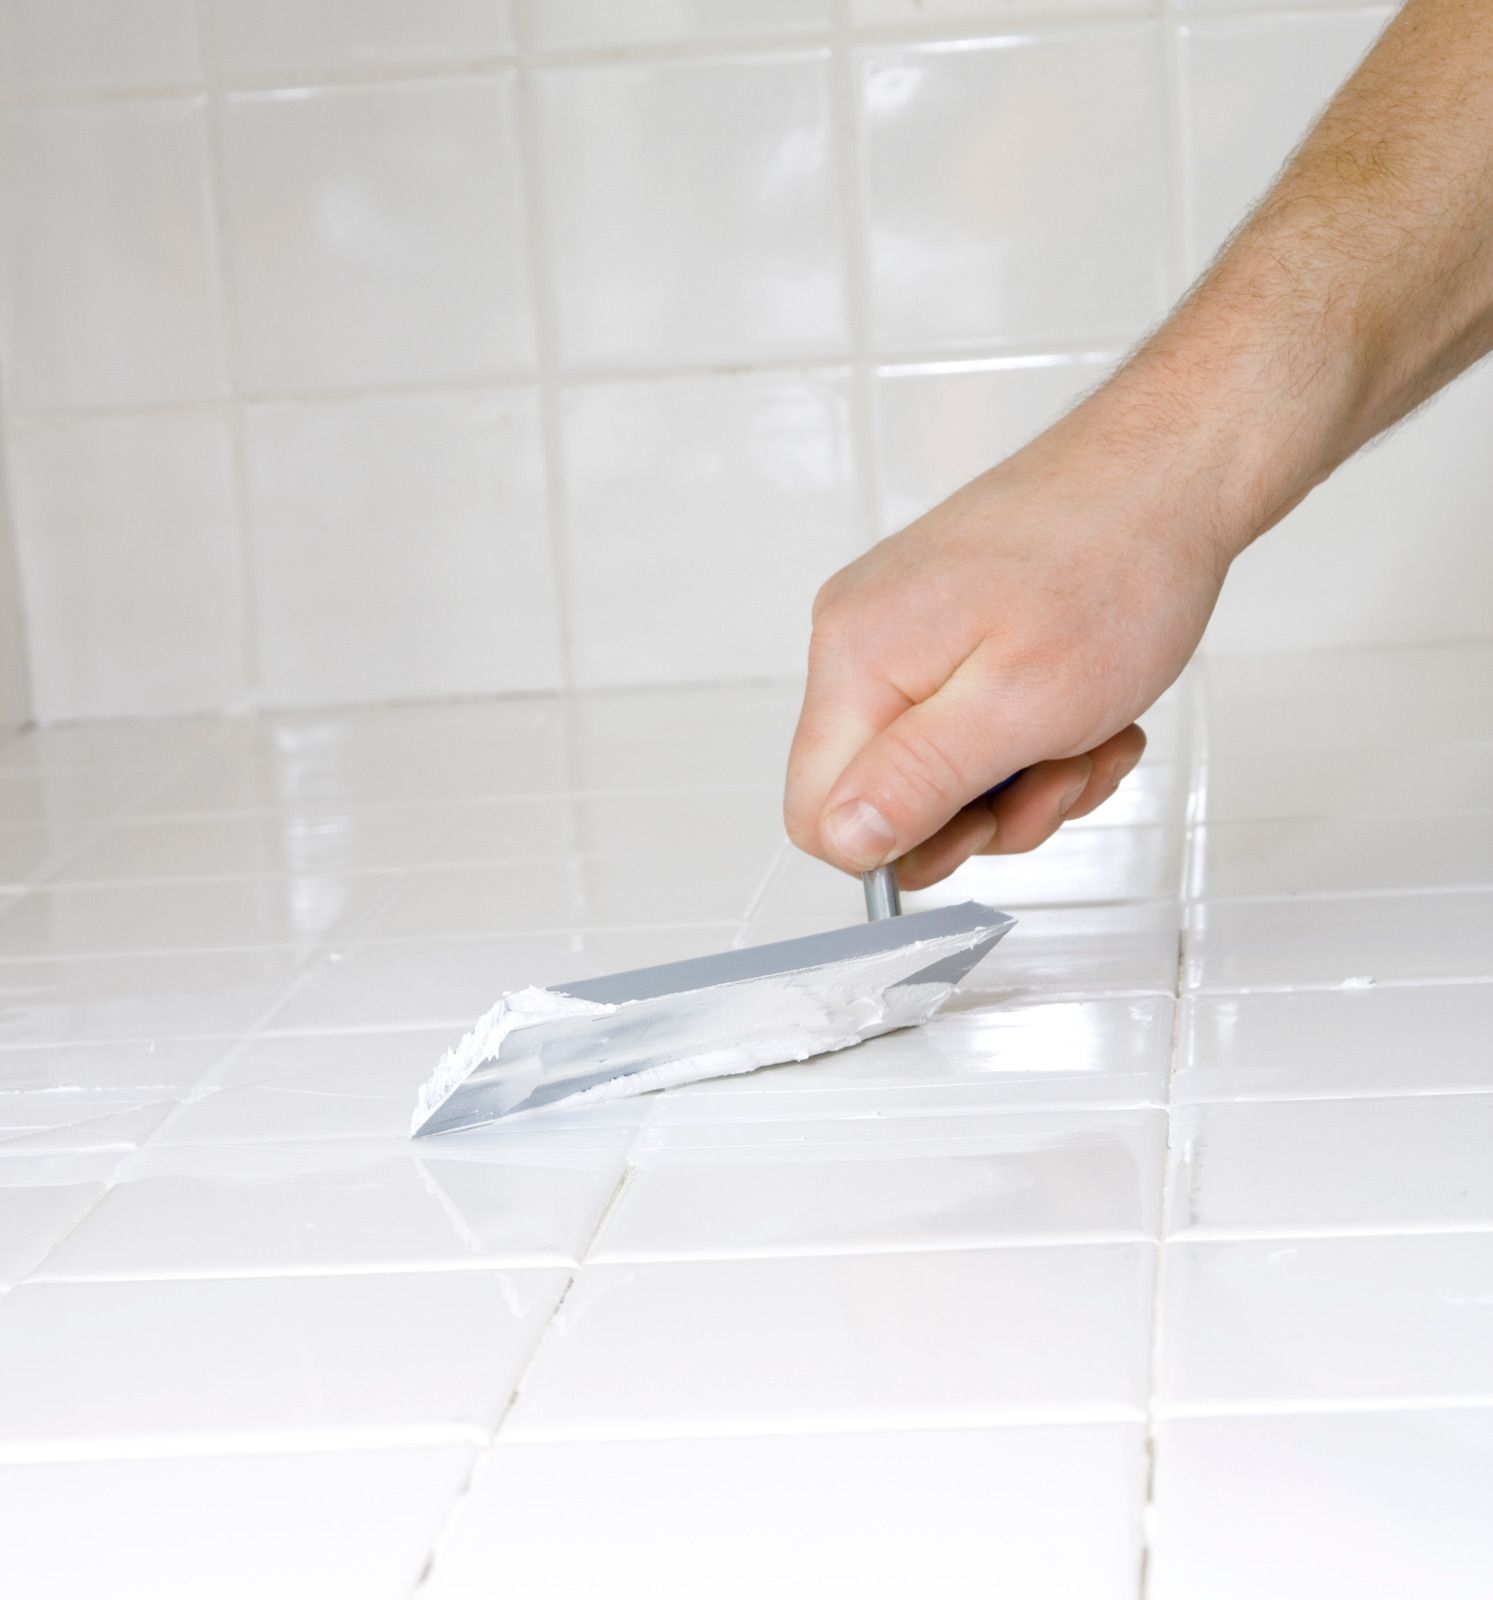
Grout and Tile Repair
Cracked grout, loose tiles, and failing caulk joints get raked out, the cause identified, and the area reset. Repeat cracking usually points at movement rather than the grout itself. Fixing the movement matters more than replacing the grout.
SEALING
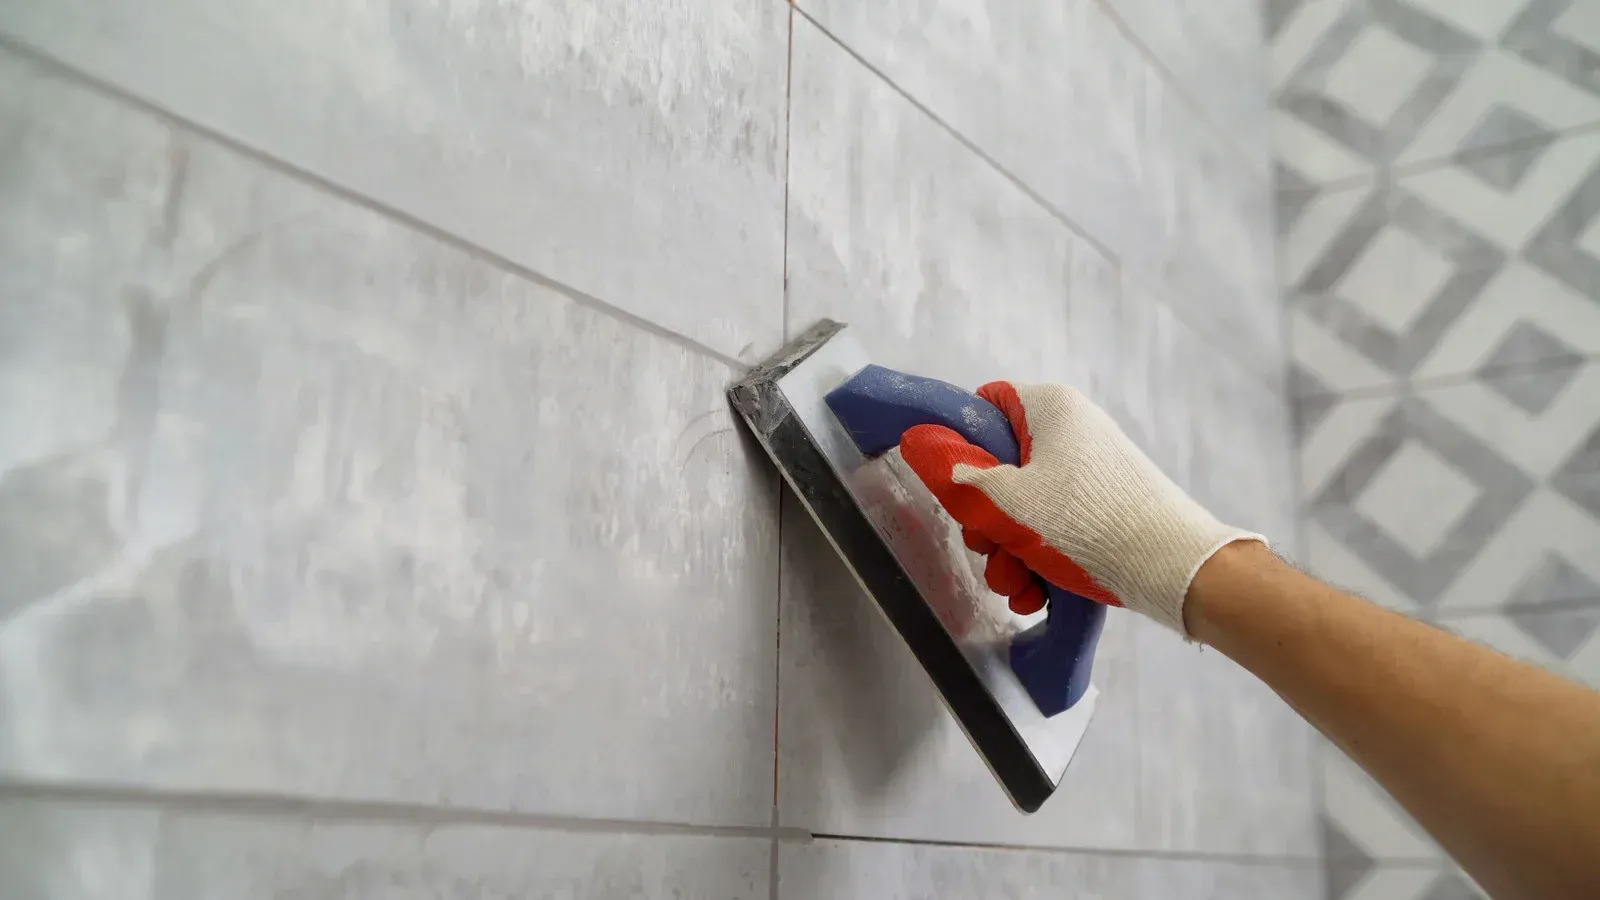
Grout Sealing and Maintenance
Cement grout gets sealed only once it has fully cured, which can take a week. Epoxy grout needs no sealing and suits high use showers and kitchen floors well. We tell you exactly when the shower can be used again.
THE WORD ON OUR WORK
WHAT OUR CLIENTS SAY.
Tile feedback tends to arrive in two waves. Immediately, about the layout and how clean the cuts are around fixtures. Then again a few years later, when a shower that has been used daily still looks exactly the way it did on the first day.
FAQ
FREQUENTLY ASKED QUESTIONS.
Tiling questions center on cure times, waterproofing, and what can go over what. Here is what homeowners around Clark County most often ask before booking tile work.
How long before I can use a new shower?
Grout dries to the touch in roughly a day but needs 48 to 72 hours minimum before exposure to standing water or steam. Full cure can run up to a week in cold conditions.
Do I need to seal my grout?
Cement based grout benefits from sealing, but only after it has fully cured, which may be a week. Epoxy grout is water resistant on its own and needs no sealer at all.
Can you tile over existing tile?
Sometimes, if the existing installation is sound, well bonded, and the added height works at thresholds and fixtures. In wet areas it is usually better to take it back and waterproof properly.
What goes behind shower tile?
An approved backer such as fiber cement or glass mat gypsum, with a bonded waterproof membrane over it. Paper faced drywall is not permitted as a tile base in wet areas.
What is the difference between sanded and unsanded grout?
Sanded grout suits joints wider than about an eighth of an inch and resists shrinkage. Unsanded suits narrow joints and delicate surfaces that sanded product would scratch. Joint width usually settles the choice for you.
Is epoxy grout worth it in a shower?
Often yes. It resists staining and water without sealing and holds color far better over time. It costs more and is less forgiving to install, which is reflected in the price.
What causes grout to crack or tiles to come loose?
Movement in the substrate, insufficient thinset coverage, or a missing movement joint. Repeat cracking in the same line almost always means something underneath is moving rather than a grout problem. TTP Handymen LLC sets tile across Vancouver, WA.
How should I prepare for a backsplash installation?
Clear the counters completely, empty the upper cabinets if we need to remove doors, and plan on the kitchen being out of use. Let us know about any outlets being relocated. TTP Handymen LLC answers this throughout Vancouver, WA.
HOW WE WORK
FROM BARE SUBSTRATE TO CURED GROUT, HERE IS HOW.
STEP 01
Assess the substrate
Flatness, soundness, and moisture all get checked, and in wet areas we confirm what is actually behind the existing surface before quoting the work or the waterproofing scope. In a shower that means opening a small area to look.
STEP 02
Prepare and waterproof
Old material comes out, approved backer goes in, and wet walls get a bonded waterproof membrane. Floors get leveled or decoupled where movement or deflection is a genuine risk. The membrane goes on before any tile is set, never after.
STEP 03
Dry lay the layout
Tile gets arranged and measured before anything is fixed, so full tiles land at the sightlines and cuts fall at the edges where nobody will be looking at them. You see and approve the arrangement before we start setting.
STEP 04
Set the tile
Thinset gets combed for full coverage rather than dotted, tiles get set with consistent spacing, and the first row gets checked repeatedly because everything above follows it. Spacing gets checked against a straightedge as the work goes up.
STEP 05
Grout and detail
Joints get filled and tooled once thinset has set properly, and movement joints at changes of plane get flexible sealant rather than grout, which is where cracking otherwise starts. Joint width determines whether sanded or unsanded product is used.
STEP 06
Cure, seal, and clean
The installation gets its full cure period before sealing or use, haze gets cleaned off, and you get told plainly when the shower is genuinely ready to be used. Rushing that window undoes an otherwise sound installation.
Get Your Free Estimate
GET THE WATERPROOFING RIGHT BEHIND IT, FREE.
The part of a tile job that determines its lifespan is the part you will never see. Reach out through the contact page and we will look at what is behind the surface before quoting anything.
WHAT YOUR TILING QUOTE COVERS:
✓ Substrate condition and flatness assessed first
✓ Approved backer and membrane in every wet area
✓ Dry laid layout agreed before anything is fixed
✓ Full thinset coverage, not spot bonding
✓ Movement joints detailed with flexible sealant
✓ Real cure times built into the schedule